Steel beam-to-beam connections usually frame the supported beam into the web of the supporting beam (called the girder) with a shear tab, a pair of clip angles or an end plate, bolted on site. If the tops of the beams have to be level, the end of the supported beam is coped to clear the girder's flange. Where depth allows, beams can also sit on top of one another and be bolted through the flanges. Most beam-to-beam connections are simple shear connections. Some are designed as moment connections to make the beam continuous across the girder.
This post covers the details you'll see on drawings, what each one needs from the fabricator, and the checks the designer makes. For beams connecting to columns, see types of steel beam-to-column connections.
Girders and beams: the basic layout
In a steel floor or roof, the framing usually has two levels of member:
- Girders span between columns and carry other beams.
- Beams (sometimes called filler beams or secondary beams) span between girders and carry the deck, joists or slab.
The beam-to-beam connection is where the secondary beam meets the girder. The main choice is about elevation:
| Framing type | What it looks like | Typical use |
|---|---|---|
| Flush (top of steel level) | Beam frames into girder web, tops aligned | Floors with a slab or deck on top, basements where headroom matters |
| Dropped beam | Beam frames lower on the girder web, no cope needed | When the beam is shallower and the top elevations can differ |
| Stacked (beam on beam) | Beam sits on top of the girder | Roofs, platforms, renovations where depth is available |
The choice comes from the architectural and structural drawings, which give each beam a top-of-steel elevation.
Shear connections into the girder web
Most beam-to-beam joints are simple shear connections. They carry the beam's end reaction but let the end rotate a little, so the beam acts as simply supported. The common types:
Single plate (shear tab)
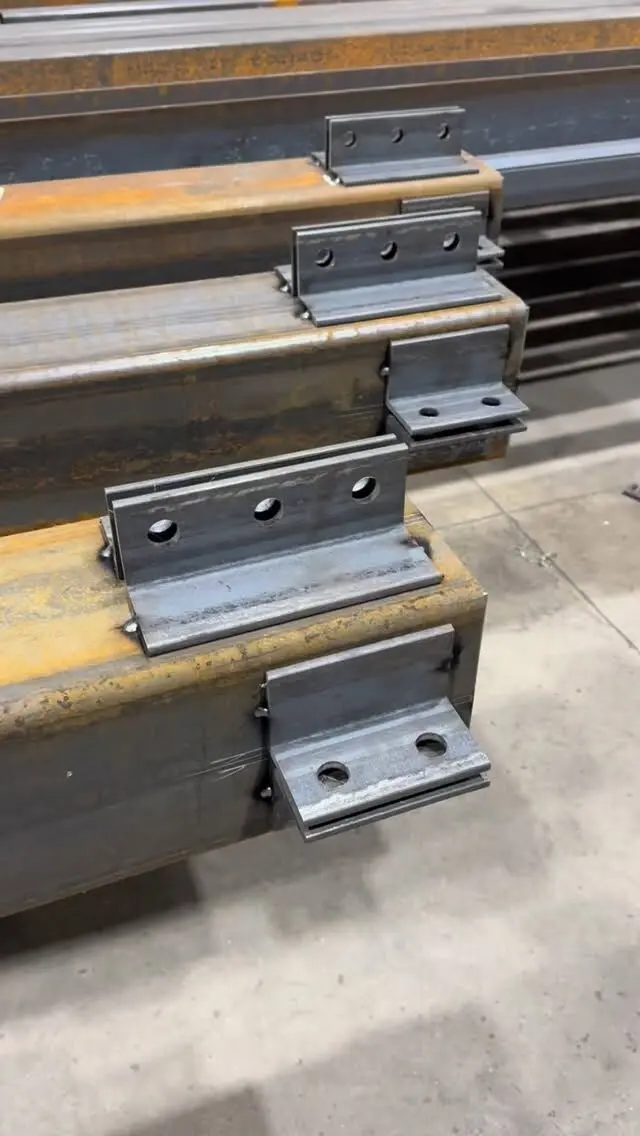
A plate is welded to the girder web (and often to its flanges as well) in the shop. On site, the beam web is bolted to the tab. Shear tabs are quick to erect because the beam drops in from above and swings onto the plate. An extended shear tab sticks out past the girder flange so the beam can connect without a cope.
Double clip angles
Two angles are attached to the beam web, one each side, either shop-bolted or shop-welded, and then field-bolted to the girder web. Clip angles give a flexible, forgiving connection and are common in repetitive framing. Where beams frame into both sides of a girder at the same point, the bolts can be shared through the girder web, which needs careful erection sequencing.
Shear end plate
A plate welded square across the end of the beam is bolted to the girder web. It's a clean detail but needs accurate beam length, since there's little adjustment.
Seated connection
The beam sits on a seat angle or welded bracket on the girder, with a small top or side angle to hold it upright. Seats are handy when the beam has to be landed before it's bolted, or in tight spaces.
The CISC Handbook of Steel Construction includes design aids for common simple connections, but the bolts, plate thicknesses and welds still have to be checked for the actual reaction and geometry.
Coped beams: what the cope costs you
When a beam frames flush with the girder, its top flange would hit the girder's top flange. The fix is a cope: the fabricator cuts away the end of the flange and part of the web so the beam fits under the girder flange.
- Top cope (single cope): the most common, for flush tops.
- Bottom cope: where the bottom flanges would clash, for example a beam framing into a shallower girder.
- Double cope: both flanges cut, when the beam is about as deep as, or deeper than, the girder.
A cope removes steel exactly where the beam reaction is transferred, so the designer checks the reduced end for:
- Block shear: a chunk of web tearing out along the bolt lines.
- Local web buckling at the cope, especially for long or deep copes.
- Cope corner cracking: copes are cut with a radius at the inside corner rather than a sharp notch, to avoid a stress concentration.
If the coped end is too weak, the designer may add a stiffener or doubler plate, reduce the cope with an extended shear tab, or choose a different detail. That's why copes are drawn on the shop drawings, not cut by eye on site. Our steel beam shop drawings guide covers what those drawings should show.
Beams stacked on top of beams
Sitting one beam on top of another is the simplest connection to make, and it's common in roofs, mezzanines, platforms and renovations where there's depth to spare. The beams are bolted together through both flanges.
It still needs checking:
- Web yielding and crippling. The concentrated load from the top beam bears on the bottom beam's top flange, and the bottom beam's reaction bears up into the top beam. The thin webs of both beams can yield or crumple. Bearing stiffeners, welded between the flanges on each side of the web, are the usual fix.
- Rollover and lateral stability. A beam sitting on another beam needs to be held upright, especially at supports. Bolts through the flanges, stiffeners or bracing do that.
- Bolt layout. Holes in both flanges need to line up, and the flange widths of the two beams set how much room there is for them.
Moment connections across a girder
Sometimes a beam needs to be continuous across a girder, for example a cantilever that projects past it, or two beams on opposite sides designed to act as one. That takes a moment connection: the flange forces have to pass from one beam to the other.
Common ways to do that:
- Top flange tie plate over the girder, bolted or welded to the top flanges of both beams, with the bottom flanges connected through the girder web or by a plate below.
- Bolted flange plates top and bottom.
- Full-penetration welds, usually in the shop for cantilever stubs.
Moment connections are heavier and more demanding to fabricate and erect than shear connections. They only appear where the structural design calls for them. Our overview of structural steel connection types explains simple vs moment behaviour in more detail.
Skewed and sloped beam framing
Not every beam meets its girder at 90 degrees. Bay windows, angled walls and sloped roofs create skewed or sloped connections. Typical solutions:
- Bent plates or skewed shear tabs welded to the girder at the right angle.
- Skewed end plates cut to the angle on the beam.
- Single-sided clip angles bent to suit small skews.
Skews and slopes affect bolt edge distances and clearances, so they need careful detailing. Mistakes here are expensive to fix in the field.
Beam-to-beam joints in houses
In houses, steel-to-steel beam connections show up in a few places: a basement girder line meeting a cross beam, beams over a wide opening landing on another beam, or a new beam added beside an existing one. Typical details are a shear tab or clip angles on the main beam, or a beam seated on top where headroom allows.
Wood joists hung from a steel beam are a different detail, covered in joist hangers for steel beams. And if you're joining two lengths of beam end to end, that's a splice rather than a beam-to-beam connection; see bolted vs welded steel beam connections and splices.
Who designs the connection
Connection design is part of the structural design. On most commercial projects the engineer of record shows the forces and either details the connections or delegates them to an engineer working for the fabricator, who stamps the connection design. On houses, the designer or engineer who sizes the beam should also show how it connects.
The fabricator needs:
- The beam sizes and top-of-steel elevations.
- The end reactions, or the connection details themselves.
- Whether any connection is a moment connection.
- Bolt grade and joint type (snug-tight, pretensioned or slip-critical).
- The finish, since some joint types need uncoated contact surfaces.
Getting beam connections fabricated
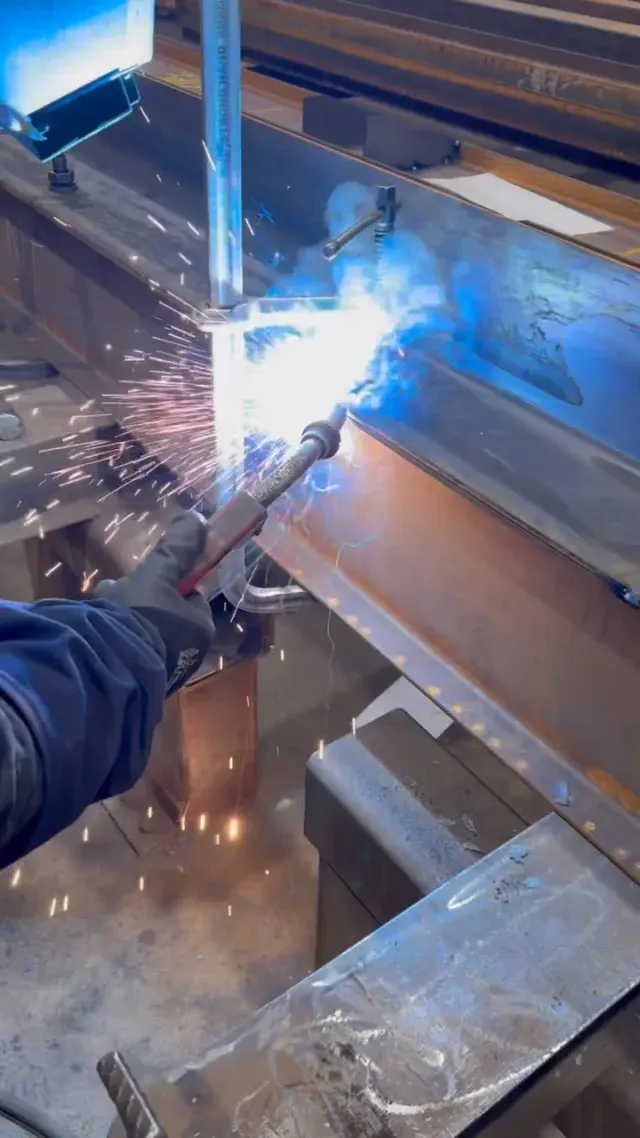
We fabricate beams and girders with their shear tabs, clip angles, end plates, seats, stiffeners and copes cut and welded in our CWB certified shop, prepare shop drawings in-house, and deliver across the GTA and Ontario. We also supply and install structural steel, from basement beams and posts to larger commercial projects.
Send your drawings for a quote, or see the services we offer.
Frequently asked questions
How do you connect a steel beam to another steel beam?
Most often the supported beam frames into the web of the supporting beam (the girder) with a shear tab, double clip angles or an end plate, and is bolted in place. Where the tops of both beams must be level, the supported beam's flange is coped to clear the girder flange. Beams can also sit on top of one another and be bolted through the flanges.
What is a coped beam?
A coped beam has part of a flange and web cut away at the end so it can fit against another beam without the flanges clashing. Coping lets the tops of the two beams line up, but it removes steel at the connection, so the designer checks the reduced end.
Can you sit one steel beam on top of another?
Yes. Stacked or crossing beams are bolted together through the flanges. The designer checks the webs of both beams under the concentrated load and may add stiffeners, and also makes sure the top beam is held against rolling over.
What is a steel beam hanger?
In steel framing, the term usually means a connection where one beam is carried by another, such as a shear tab or seat. It can also mean a member that hangs a beam from structure above. Wood joist hangers on steel beams are a different detail.
Do beam-to-beam connections need to be designed?
Yes. Every connection is designed for the forces it carries, either by the structural engineer or by an engineer working for the fabricator, and the details are shown on the shop drawings.