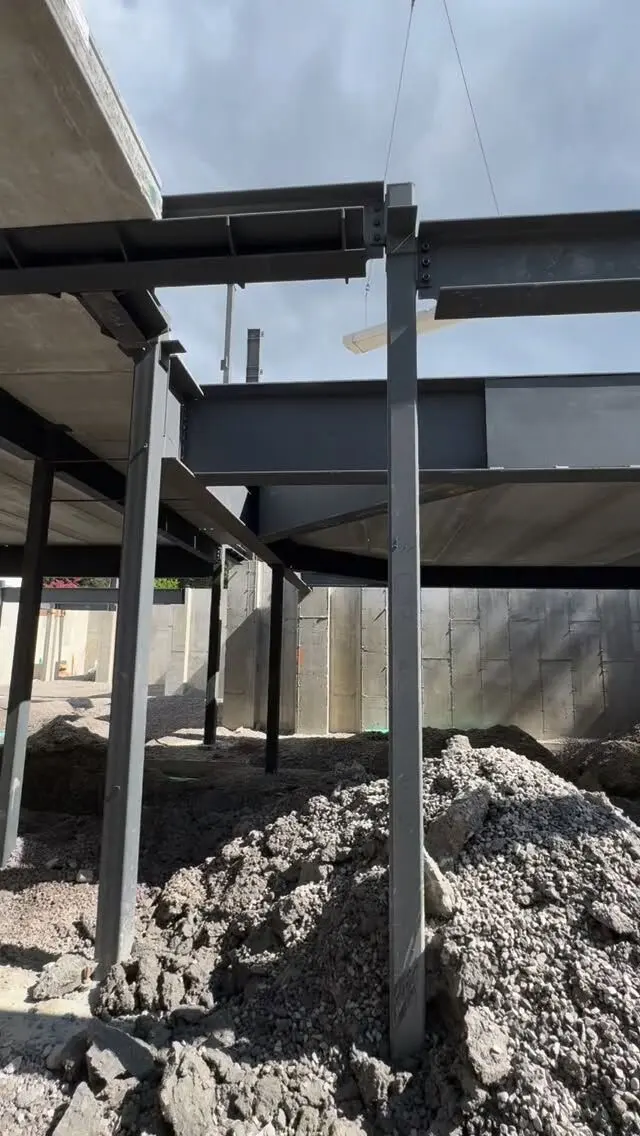
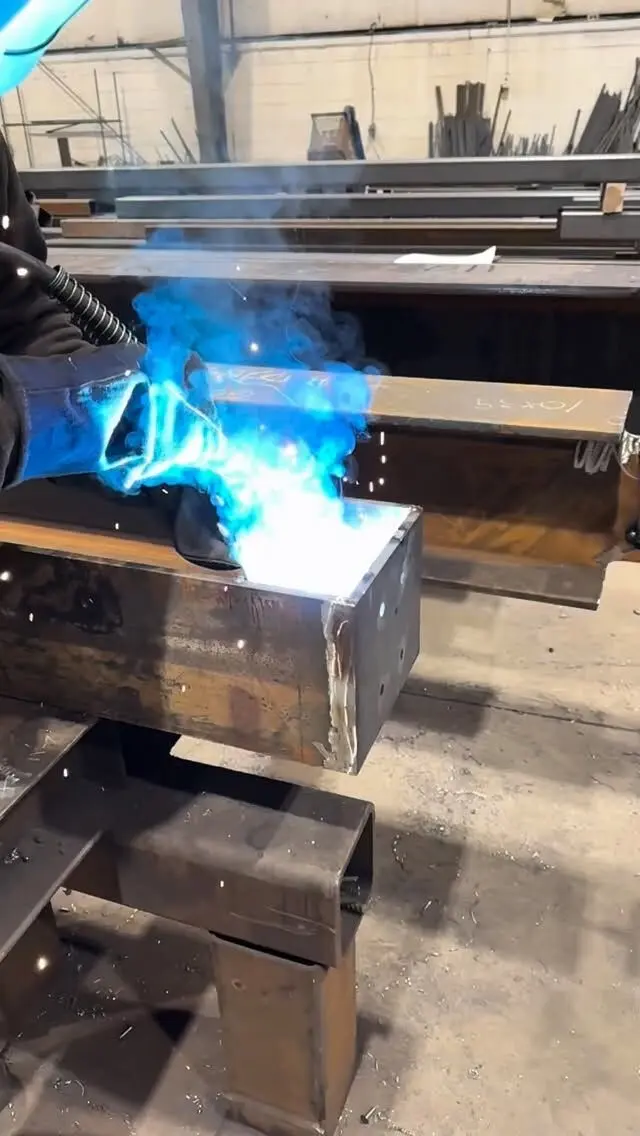
Structural steel fabrication is the shop process that turns mill shapes and plate into finished, numbered building parts. The flow is the same in almost every shop: drawings, material, cutting, holes and copes, fitting, welding, inspection, finishing, marking and shipping. Each step feeds the next, and a mistake in an early step, usually the drawings, carries through to the site.
This guide follows a typical job from award to delivery. It covers the shop as a whole rather than any single member.
The fabrication process flow chart
Here is the sequence in one view. Larger shops run several steps at once on different pieces, but each piece passes through them in this order.
| Step | What happens | Main output |
|---|---|---|
| 1. Drawings | Design drawings turned into shop and erection drawings, reviewed and released | Issued-for-fabrication drawings |
| 2. Material | Shapes, plate and fasteners bought in the specified grades | Material with mill test certificates |
| 3. Layout and cutting | Members sawn or cut to length; plates cut from sheet | Cut members and parts |
| 4. Holes and copes | Bolt holes drilled or punched; beam ends coped or notched | Members ready to fit |
| 5. Fitting | Plates, clips and stiffeners located and tacked in place | Assemblies checked for dimensions |
| 6. Welding | Welds completed to the drawings and approved procedures | Welded assemblies |
| 7. Specialty work | Cambering, straightening and other operations as specified | Members to final shape |
| 8. Inspection | Dimensions, holes and welds checked | Accepted pieces |
| 9. Finishing | Cleaning and coating as specified, or left bare | Finished pieces |
| 10. Marking and shipping | Piece marks applied, loads built in erection order | Delivered steel |
Step 1: Drawings come first
Nothing gets cut until the drawings are right. A detailer turns the engineer's design drawings into shop drawings for each piece and erection drawings showing where every piece goes. They go to the design team for review, come back with comments, and are reissued for fabrication. For the vocabulary, see shop drawings vs fabrication drawings.
Two things in this step decide how smoothly everything else goes:
- Connection design. Who designs the connections, and to what forces, has to be settled before detailing goes far.
- Revision control. The shop must build only from the current issued-for-fabrication revision. Most "fabrication errors" that trace back to drawings are really an old print left on the floor.
Step 2: Material
Material is bought from mills or steel service centres in the grades the drawings call for, for example CSA G40.21 350W for many shapes, or the ASTM grades named in the specification. Material usually comes with mill test certificates that record its chemistry and mechanical properties by heat, and shops keep those on file for the project record where the specification asks for traceability.
Material ordering often starts before drawings are fully approved, from the take-off, so that long members and heavy sections are on hand when drawings are released. Standard mill lengths and what can be delivered on the road also affect where long members are spliced.
Steps 3 and 4: Cutting, holes and copes
Cutting. Beams, columns, channels, angles and HSS are cut to length, usually with a band saw or cold saw for square, accurate ends. Plate parts such as base plates, cap plates and shear tabs are cut with a torch, plasma or other cutting equipment, depending on thickness and the shop's equipment.
Holes. Bolt holes are drilled or punched to the sizes on the drawings. Punching is fast but suits thinner material, so thicker parts are drilled; the governing standard and specification set where punched holes are allowed. Larger shops may use automated lines that cut and drill from the detailing model; smaller shops lay out and drill by hand. Either way, the holes must match the connecting piece within tolerance or the erector will be reaming on site.
Copes and notches. Where a beam frames into another beam, the top or bottom flange is cut back (coped) so the members clear each other. Copes need smooth, radiused corners rather than sharp notches, which can start cracks.
The accuracy expected at this stage is set by the fabrication tolerances in CSA S16; our post on steel fabrication tolerances explains them.
Steps 5 and 6: Fitting and welding
Fitting is where pieces become assemblies. The fitter lays out the location of every plate, clip and stiffener from the shop drawing, holds it in place, checks dimensions and squareness, then tack welds it. A good fitter catches drawing problems here, before anything is fully welded.
Welding completes the joints. In Canada, structural welding is done to CSA W59, and companies welding structures under CSA S16 must be certified by the Canadian Welding Bureau to CSA W47.1 (or W55.3 for resistance welding). That means approved welding procedures, qualified welders and a welding supervisor responsible for the work. Shop welding is preferred wherever the design allows, because the work can be positioned flat or horizontal, under cover, with better access than on a frame in the air. See structural welding services for how shop and field welding compare.
Step 7: Specialty work
Some members need more than cutting and welding:
- Cambering. Long beams can be given a slight upward curve so they finish closer to level under load. It is done by machine or with controlled heat; see heat cambering vs cold cambering.
- Straightening. Members bent in handling or by welding heat are brought back within tolerance.
- Bending and rolling. Curved members are usually sent to specialist benders.
- Built-up members. Girders, lintels and posts made from plate or combined shapes are assembled and welded as a unit.
Step 8: Inspection and quality control
Each piece is checked before it leaves: overall length, hole locations, plate positions, camber where specified, and the welds. Visual inspection of welds is standard, and the project specification may add non-destructive testing (such as ultrasonic or magnetic particle testing) or third-party inspection for certain welds. The specification, not the shop, decides what extra testing is required.
Step 9: Cleaning and coating
Finish is whatever the specification calls for, and it varies by location in the building:
- Left bare. Steel that will be enclosed in the building or receive fireproofing is sometimes left unprimed, depending on the fireproofing product and the specification.
- Shop primer. A common default for interior steel.
- Paint systems. Multi-coat systems for exposed or more demanding locations, with surface preparation to match.
- Galvanizing. Hot-dip galvanizing for exterior and corrosive exposures, done at a galvanizing plant, which affects scheduling and some details such as venting holes.
The surface preparation behind each coating matters as much as the coating. Ask your fabricator what is included in the quote and how bolted contact surfaces and field weld areas will be left.
Step 10: Marking, loading and shipping
Every piece gets a piece mark that matches the erection drawings, so the crew on site knows exactly where it goes. Loads are built in erection sequence, with the first pieces needed loaded last so they come off first, and bolts and small parts are bagged and labelled. Long or wide loads need planning around transport limits and site access.
From here the steel becomes the erector's responsibility. For how the work divides between the two scopes, see steel fabrication vs erection.
How Procut fabricates
We prepare shop drawings in-house, then fit, cut, weld, grind, mark and bundle structural steel to them, so every piece goes up quickly and cleanly on site. Our shop welding is CWB certified, heat cambering of beams is one of our specialty services, and engineering services are available for projects that need them. We deliver across the GTA and Ontario, with phased deliveries to match your schedule, and we install. We can prime or galvanize to suit the job, and if it needs extra testing, tell us when you request a quote and we'll confirm how we'd handle it.
Send your drawings for a free take-off and quote, or see our fabrication services.
Frequently asked questions
What is structural steel fabrication?
It is the shop work that turns mill shapes and plate into finished building parts: cutting members to length, making holes and copes, fitting and welding plates and connections, inspecting, finishing and marking each piece so it can be erected on site.
How is structural steel fabricated?
From approved shop drawings. Material is bought in the specified grades, cut to length, drilled or punched, fitted with plates and clips, welded, inspected, cleaned and coated as specified, then marked and loaded in the order it will be erected.
What comes first in steel fabrication?
The drawings. The engineer's design drawings are turned into shop and erection drawings, which are reviewed before fabrication starts. Material ordering often runs in parallel so it is on hand when drawings are released.
What standards govern steel fabrication in Canada?
CSA S16 for structural steel design and fabrication, CSA W59 for welding, CSA W47.1 for certification of welding companies, and CSA G40.21 or the ASTM standards named in the specification for the material.