A steel stair is fabricated by measuring the site, working out the rise and run, drawing every part, cutting the stringers and tread supports, fitting them square on a layout table, welding in a controlled sequence, then finishing and delivering it in pieces that fit the building. The welding is the easy part to picture. The measuring, layout and distortion control are what make a stair that meets the code and feels right underfoot, and they are where most do-it-yourself metal stairs go wrong.
Here is how a fabrication shop builds one, step by step, followed by the specific reasons DIY steel stairs fail.
Step 1: Site measure and stair geometry
Every custom stair starts with the opening, not the steel. The fabricator measures:
- Total rise: finished floor to finished floor, including any tile, hardwood or concrete topping still to come
- Available run: how much horizontal room there is for the stair and any landings
- Opening size and headroom: the floor opening above, beams and ducts in the way
- Supports: what the top and bottom of the stair will fasten to (concrete, wood framing, steel)
- Width and any walls, doors or windows nearby
From those numbers comes the stair geometry: the number of risers, the riser height, the tread run, landings and the stringer angle. In Ontario the Building Code sets limits on all of these, including maximum and minimum rise and run, how uniform they must be and how much headroom is needed. Our steel stair calculator guide shows the arithmetic, and our article on Ontario Building Code rules for steel stairs lists the limits.
Step 2: Design and shop drawings
The geometry becomes shop drawings that show every piece: stringer sections and lengths, tread supports, connection plates at top and bottom, bolt holes, landing framing, railing posts and the finish. For a house stair, the stair is usually designed to the Part 9 requirements; for larger buildings, stairs serving many people or unusual designs like mono stringers and cantilevered treads, an engineer designs the steel and connections.
The drawings go to the client, and the designer or engineer where one is involved, for approval before any steel is cut. This is the cheapest point to change anything. Our guide to shop drawings vs fabrication drawings explains what each set is for.
Step 3: Cutting stringers and parts
With approved drawings, the shop cuts material:
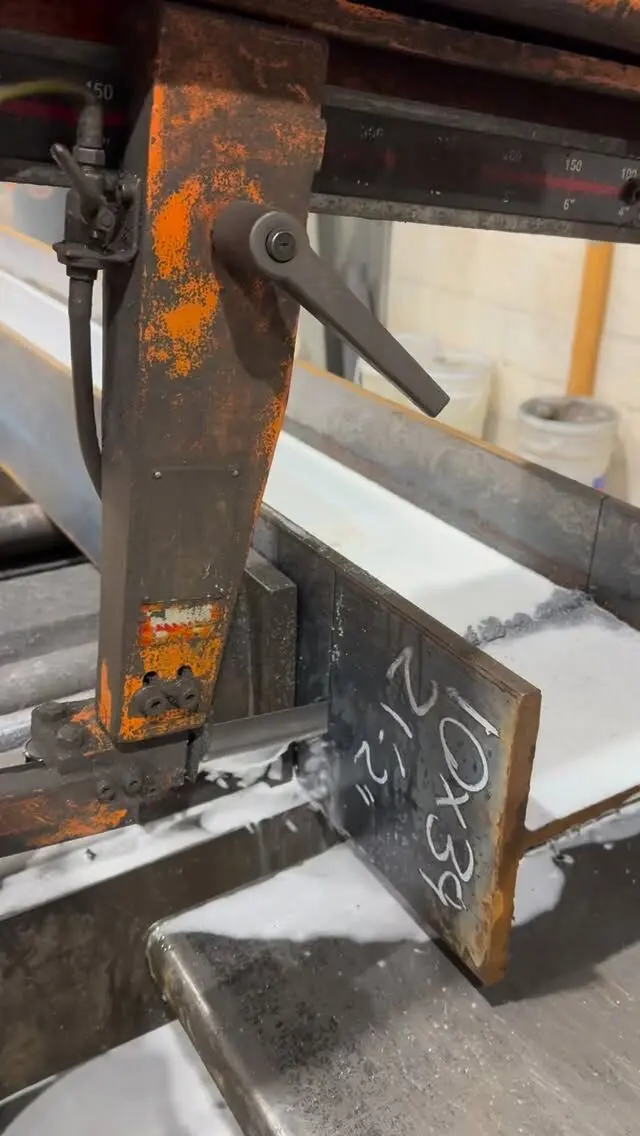
- Stringers from steel plate, C-channel or rectangular HSS. Straight stringers are sawn to length with the top and bottom cut to the stair angle. Sawtooth (zigzag) plate stringers are burned out of plate by plasma or oxy-fuel cutting, following the step profile. Our post on steel stair stringer sizes covers the common sections.
- Tread supports: short angles or bent plates that carry each tread, or pans folded on a press brake for concrete-filled or wood-filled treads.
- Treads cut from checker plate, bar grating or plate, or prepared for wood or stone. See types of steel stair treads and what steel pan stairs are.
- Connection plates for the top and bottom, landing framing and railing post tabs.
Every part is marked so it goes back in the right place.
Step 4: Layout and fit-up
This is the step that decides whether the stair is accurate. The stringers are laid out on a flat, level fabrication table or a purpose-built jig, and each tread position is marked from the drawings at the exact rise and run.
The fitter then:
- Clamps the stringers at the correct width and checks them parallel.
- Positions each tread support on its mark, checking level side to side and along the tread.
- Tack welds the parts, which holds them without fully committing.
- Measures diagonals to confirm the stair is square, and rechecks every riser and run.
Because the code limits how much risers and runs can vary within a flight, the shop works to measured marks, not to "close enough". A stair that is out of square or twisted at this stage stays that way.
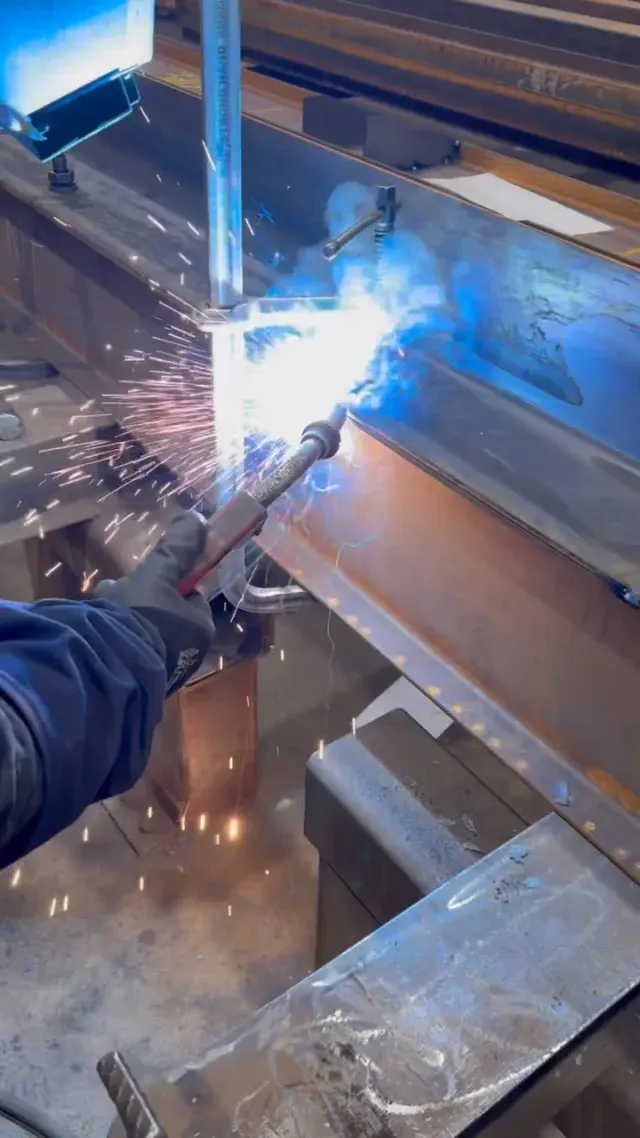
Step 5: Welding and distortion control
Welding heat expands the steel, and as the weld cools it shrinks and pulls the parts toward it. On a long stringer with dozens of welds, that pull adds up: stringers bow, treads tilt and the stair can twist.
Shops control distortion by:
- Tack welding first, then checking before final welding
- Welding in a planned sequence, alternating sides and spreading heat along the stair instead of finishing one end first
- Clamping and fixturing parts to the table until welds cool
- Sizing welds to the drawings, since oversized welds add heat and distortion without adding useful strength
Structural welding is done by qualified welders in a certified shop. In Canada, shops that weld structural steel are certified by the Canadian Welding Bureau; our post on why to hire a CWB certified fabricator explains what that means.
Step 6: Grinding, finishing and trial fit
After welding, the stair is cleaned up:
- Exposed welds ground where they will be seen or touched
- Sharp edges broken, including tread nosings, which the code requires to be rounded or bevelled
- Surface prepared and finished with primer, paint or another specified coating; exterior stairs need a finish that suits Ontario winters, covered in our guide to exterior steel stairs
Before shipping, the shop checks the stair against the drawings and confirms every connection hole is where it should be. Large stairs are split into sections that fit through doors and stairwells, with bolted joints designed in so they reassemble on site without field welding.
Step 7: Delivery and installation
The stair arrives marked, with its hardware. Installation sets the bottom on its support, fastens the top, checks level and plumb, and adds railings if they ship separately. Our guide on how to install metal stairs covers what happens on site.
When DIY steel stairs fail
We get calls about home-built metal stairs that didn't work out. The problems are predictable:
- Uneven risers. The code allows only small variations between adjacent risers and across a flight. Welding distortion, measuring errors and forgetting the floor finish thickness are the usual causes. A trip at an odd step is how people get hurt.
- Bouncy or twisting stairs. Undersized stringers, light tread supports or weak top connections make a stair that moves. Steel looks strong; that doesn't mean the section is right for the span.
- Poor top and bottom connections. A stair has to be fastened to something that can take the load. Lag screws into a rim board or drywall-covered framing are not a design.
- Headroom and landing mistakes. A stair that fits the floor area can still clip the floor above or end at a door with no landing.
- No handrail or guard plan. Railings added as an afterthought often miss the required heights, openings and loads.
- Welds of unknown quality. Structural welds need the right process, filler and technique. A weld that looks fine can lack fusion.
- No permit. New and replacement stairs inside a house are usually part of permitted work. An uninspected stair can become a problem when you sell or insure the home.
If you want a lower-cost route, a stair kit can work for some layouts. Our comparison of steel stair kits vs custom stairs explains where kits fit and where they don't.
Getting a steel stair fabricated
We fabricate custom steel stairs, along with railings, gates and ladders, to your drawings, with in-house shop drawings and CWB certified shop welding, and we deliver across the GTA and Ontario. Engineering services are available for stairs that need them. Send your drawings or measurements for a quote; installation is by your installer or contractor. Our services page covers fabrication, shop drawings and delivery. For help picking a shop, see choosing a steel stair fabricator in the GTA.
Frequently asked questions
How are steel stairs made?
A fabricator measures the opening, works out the rise and run, draws the stair, cuts the stringers and tread supports, fits everything on a flat layout table, tack welds and checks it, fully welds it with distortion in mind, then grinds, finishes and delivers it in pieces sized for access.
Can I build my own steel stairs?
Some people with real welding skill build simple utility steps, but a stair that serves a home or building has to meet the Building Code for rise, run, uniformity, headroom, handrails and guards, and usually needs a permit. Weld distortion and uneven risers are the usual DIY failures.
What are steel stair stringers made of?
Usually steel plate, C-channel or rectangular HSS. Plate stringers can be straight or cut in a sawtooth shape; channel and HSS stringers carry treads on welded angles or plates. The section is sized for the span and loads.
Why do welded stairs end up with uneven steps?
Welding heat makes steel shrink and pull, so parts move as they are welded. Shops control it with jigs, clamps, tack welding and a planned weld sequence. Errors in the assumed floor finish heights also throw off the top and bottom risers.