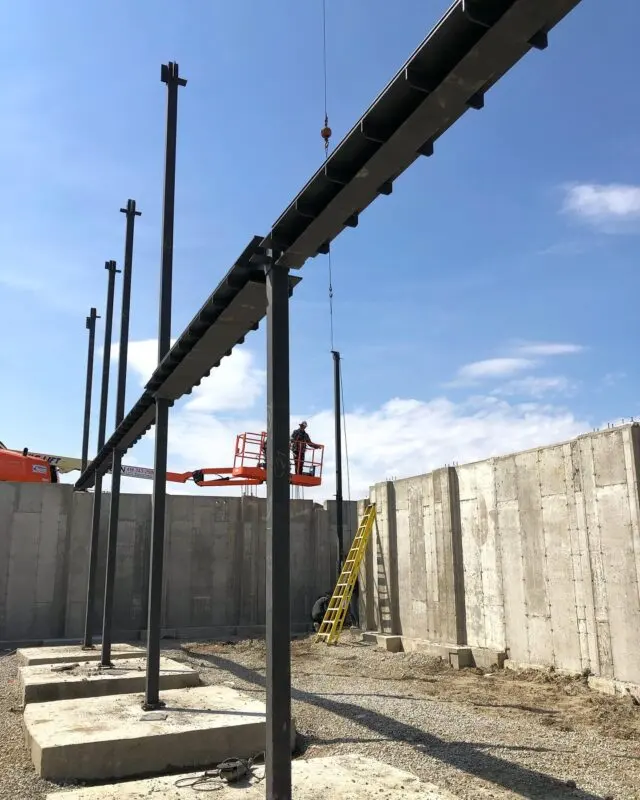
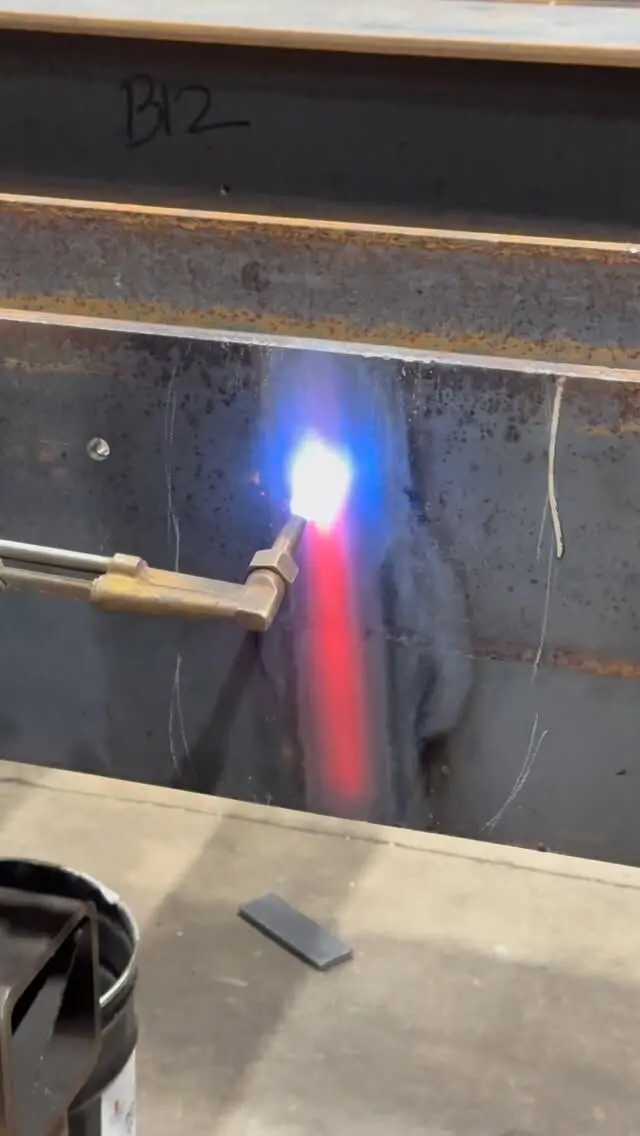
A column base plate is fabricated in a short, precise sequence: the plate is cut to size, the anchor rod holes are drilled to the template, the column end is cut square, the column is fitted to the plate in the right position and checked for square, then welded with the weld size shown on the drawings. In Canada, that welding is done to CSA W59 by a company certified by the Canadian Welding Bureau (CWB). The plate is then cleaned, coated if specified, and marked to match the erection drawings.
This post explains each step and what to put on the drawing so the assembly fits the anchor rods on site. For how the plate thickness is designed, see our worked column base plate design example.
What a base plate assembly includes
A base plate is the steel plate at the foot of a column that spreads its load onto concrete and anchors it with rods cast into the footing or pier. The assembly that leaves the shop usually includes:
- The plate, cut to size and thickness, with holes for the anchor rods.
- The column, a W-shape, HSS or pipe, cut to length with a square end.
- The welds joining them.
- Stiffeners or gussets, only where the design calls for them.
- A cap plate at the top of the column, for bearing a beam or closing an HSS.
For houses, the 2024 Ontario Building Code (Article 9.17.3.2) requires steel columns to have plates at each end of at least 100 mm x 100 mm x 6.35 mm, with the top plate extending across the full width of a wood beam it supports. Our guide to lally column cap and base plates covers the residential details. Engineered columns get plates sized by the designer.
Step 1: Cutting the plate
The plate is cut from plate stock or flat bar to the size and thickness on the drawing. Depending on thickness and quantity, it may be sheared, sawn, or thermally cut with plasma or oxy-fuel equipment. Thermally cut edges are cleaned of slag and dross so the plate sits flat and the coating will stick.
Two things matter at this stage:
- Grade. Plate is commonly specified to CSA G40.21 grades such as 300W or 350W; US drawings often show ASTM A36 or A572 Grade 50. Use the grade on the drawings.
- Flatness. The underside of the plate bears on grout or concrete. A plate that is dished or bowed will not bear evenly. Thick plates resist distortion during welding better than thin ones, which is one reason designers sometimes choose a thicker plate.
Step 2: Drilling the anchor rod holes
The holes have to match rods that are already cast into concrete, so this is the step where accuracy pays off most.
- Hole pattern. Position and spacing come from the shop drawing, which should match the anchor rod layout and the template used to set the rods. Our post on base plate layout and anchor bolt templates covers how the two are coordinated.
- Oversized holes. Base plate holes are normally larger than the rods so the column can be set despite small placement errors in the concrete. Plate washers go over the holes once the column is set.
- Orientation. A plate with an off-centre column or an asymmetric hole pattern can be fitted the wrong way round. The shop drawing should show orientation relative to grid lines, and the plate should be marked accordingly.
Holes are drilled or punched depending on the plate thickness and the specification.
Step 3: Preparing and fitting the column
Squaring the end. The column is cut to length with its bottom end square to its axis, so it sits flat on the plate. A column cut out of square leans, and the lean gets worse with height.
Positioning. The column is set on the plate in the position on the drawing, usually centred but sometimes offset at walls or property lines. For a W-shape column, the drawing also shows which way the web runs relative to the grid.
Checking square. The fitter checks that the column is plumb to the plate in both directions, then tack welds it. Shops often use a fixture or jig for repeated assemblies so every post in a run is identical.
Stiffeners. If the design includes gussets between the column and plate, they are cut, fitted and tacked at this stage. Gussets add cutting and welding on both sides, which is why simple pinned bases often use a thicker plate instead.
Step 4: Welding the base plate
With the column tacked square, the assembly is welded. In Canada, structural steel designed to CSA S16 is welded to CSA W59 by companies certified to CSA W47.1 through the CWB Group. On a base plate that looks like this:
- Weld type and size come from the drawings. Fillet welds are the most common. Bases designed to resist moment or high uplift may need larger welds or groove welds.
- HSS columns are often fillet welded all around, which also closes the bottom of the tube.
- W-shape columns are welded along the flanges and, where shown, the web.
- Welding procedures. The welder follows the shop's approved welding procedure data sheets, including any preheat the plate thickness requires.
- Sequence. Welds are placed in a balanced order, working around the column, so the heat does not pull the plate out of flat or the column out of plumb.
Welding a base plate in the shop happens on a bench, in a good position, with the column held square. That control is hard to match on site, which is why most base plates are shop welded.
Step 5: Inspection, finish and marking
Inspection. After welding, the assembly is checked against the shop drawing: column length, hole positions and sizes, plate orientation, squareness, and weld size and profile. Third-party inspection is added when the project specification requires it.
Finish. What happens next depends on the specification and where the column will live:
- Interior columns hidden by finishes may be supplied in mill finish or shop primer, as specified.
- For Part 9 buildings, Article 9.17.3.3 of the 2024 OBC requires exterior steel columns susceptible to corrosion to have at least one coat of rust-inhibitive paint on the outside surface.
- Columns at exterior piers or in wet areas need a coating that suits the exposure. If your drawings call for hot-dip galvanizing, HSS sections need vent and drain holes placed with the designer's approval. We can prime or galvanize to suit the job.
The base also needs a grout pad or setting detail that sheds water away from the steel. Our post on grouting base plates covers the site side.
Marking. Each assembly gets a piece mark matching the erection drawing, and the plate is marked for orientation where it matters.
What to send so your base plates fit first time
To quote and fabricate column and base plate assemblies, send:
- The structural drawings or base plate schedule, with plate size, thickness, grade and hole size.
- The anchor rod layout, and the template if one is being used to set the rods.
- Column sizes and lengths, or the top and bottom elevations they are cut from.
- Weld details, including any stiffeners.
- Cap plate or beam connection details at the top.
- Finish requirements and whether the columns are interior or exterior.
The plate size, thickness, welds and anchor rods are part of the structural design, so they come from the engineer or designer. Don't substitute a thinner plate or a smaller weld without their approval.
Base plates and posts from Procut
We cut and drill base plates, cap plates and connection plates to your details, and supply HSS and steel posts with plates welded on, under CWB certified welding. Shop drawings are prepared in-house, and engineering services are available for projects that need them. For what drives the price, see steel base plate cost.
Send your drawings for a free take-off and quote, or see our steel products and services.
Frequently asked questions
How is a base plate welded to a steel column?
The column end is cut square, set on the drilled plate in the position shown on the drawing, checked for square and tacked, then welded with the weld type and size the design calls for. In Canada that welding is done to CSA W59 by a CWB-certified company.
Is a base plate welded all the way around an HSS column?
Often, yes. An all-around fillet weld is a common detail on HSS posts, and it also closes the bottom of the tube. The drawings decide the weld size and whether it is continuous.
What size base plate does a basement steel column need in Ontario?
For Part 9 houses, Article 9.17.3.2 of the 2024 Ontario Building Code requires steel columns to have plates at each end of at least 100 mm x 100 mm x 6.35 mm. Engineered columns have plates sized by the designer.
Why are base plate holes bigger than the anchor bolts?
Oversized holes let the column be set even when the cast-in anchor rods are slightly out of position. Plate washers then go over the holes. Hole size comes from the design and the anchor rod size.
Can base plates be welded on site instead of in the shop?
They can, by a certified welder working to an approved procedure, but shop welding is easier to control: the work is done flat, out of the weather, with the column squared in a jig. Most base plates are shop welded.