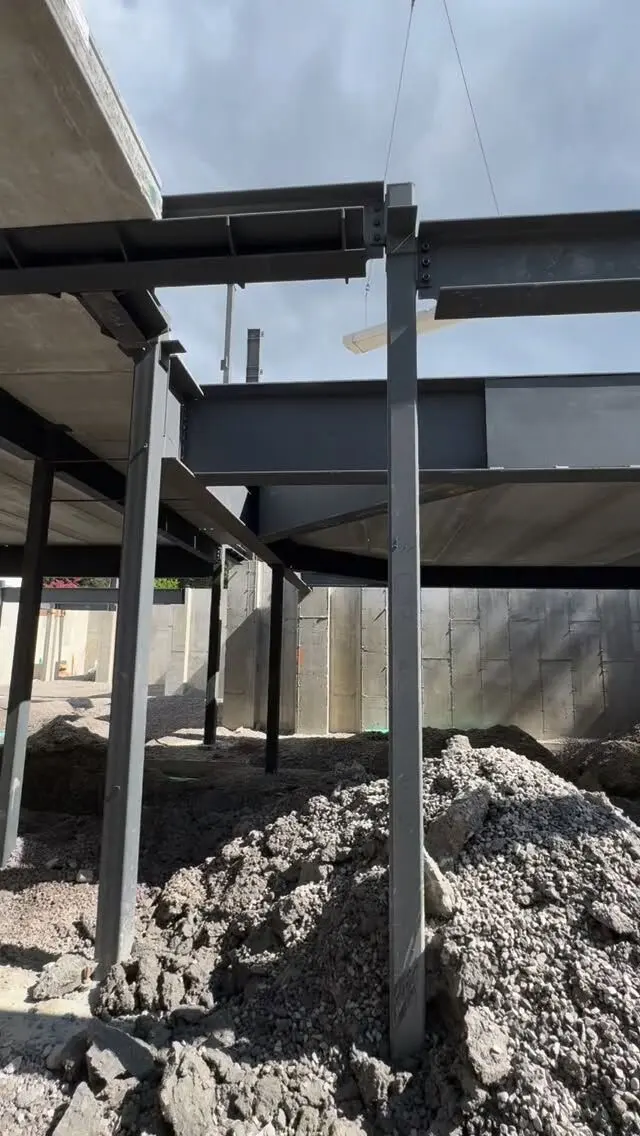
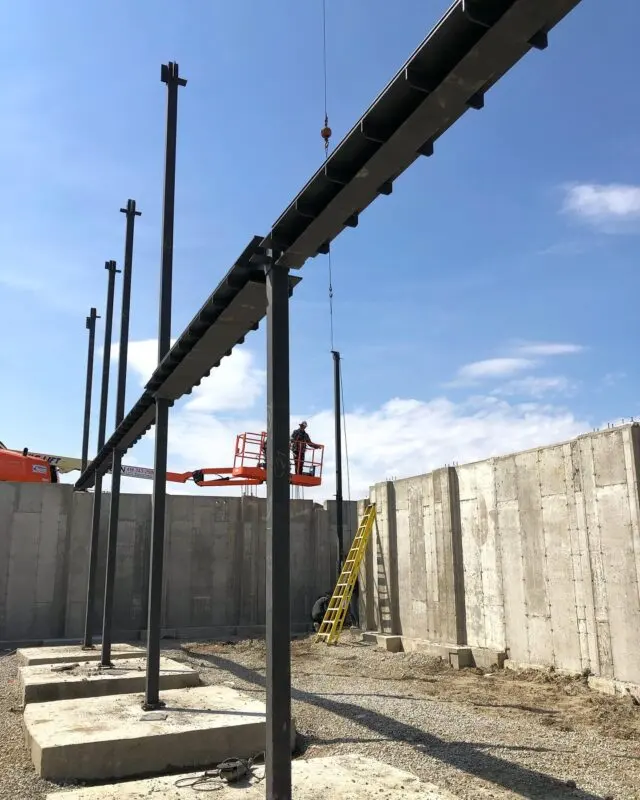
Base plate grouting fills the space between a steel column's base plate and the concrete below with non-shrink grout, so the column bears evenly on the foundation instead of sitting on levelling nuts, shims or a few high spots. The grout space is set on the structural drawings and has to stay within the limits printed on the grout product's data sheet. Most column bases use a packaged cementitious non-shrink grout; epoxy grouts are used where vibration, chemicals or early loading call for them.
This guide covers what the grout does, how columns are set before grouting, choosing the grout, thickness, and how grouting is carried out on site.
What base plate grout actually does
A concrete footing or pier is never perfectly flat or perfectly at the right elevation, and neither is the underside of a steel plate. Grout closes that gap. It has four jobs:
- Full bearing. The column load spreads through the plate and grout into the concrete over the whole plate area. That is the bearing area the engineer assumed when the plate was sized (see our base plate design example).
- Taking load off the levelling hardware. Levelling nuts and shims are there to set the column at the right height and plumb during erection. Once grout is in, the permanent load goes through the grout, not through the rods or a stack of shims.
- Locking the column in place. A filled grout space resists the plate shifting sideways and keeps water and debris from collecting under the plate.
- Protecting anchor rods. Grout encases the rods between the plate and the concrete, which helps keep moisture off them.
It follows that grouting is not a cosmetic finish. An ungrouted or badly grouted column can carry its load through a few rods or shims never designed for it.
How columns are set before grouting
Grouting is the last step of setting a column base. Before it happens, the column has to be at the right elevation, plumb and secured. The common methods are:
| Method | How it works | Notes |
|---|---|---|
| Levelling nuts | A nut and washer on each anchor rod under the plate set the elevation; nuts on top hold it down | Quick to adjust; rods carry erection loads until grout is placed |
| Steel shims | Shim packs under the plate at set points carry the column at the right height | Shims usually stay in and are grouted over |
| Setting (levelling) plate | A separate thin plate is set and grouted to elevation first; the column plate sits on it | Common for heavier columns; gives a solid surface to land on |
| Grout pad set first | A small pad is cast to elevation and the plate is set on it | Used for some smaller bases |
Which method to use is a detailing decision shown on the drawings or the erection plan. Whatever the method, the column is plumbed, braced or connected into the frame, and checked before grout goes in.
Anchor rod layout matters here too. CSA S16 requires columns to have at least four anchor rods for erection safety, with special precautions where that isn't feasible (the Canadian Institute of Steel Construction explains this rule with reference to the 2014 edition). Rod size, hole size and edge distance are covered in our guide to anchor bolts for base plates.
Choosing the grout: non-shrink cementitious vs epoxy
Non-shrink cementitious grout is the everyday choice. It is a packaged dry blend of cement, fine aggregate and admixtures, mixed with water on site. The North American product standard is ASTM C1107, Standard Specification for Packaged Dry, Hydraulic-Cement Grout (Nonshrink), which covers grouts intended for use under applied load where the grout must not settle below its placed height. Specifications commonly name a grout that meets C1107 and a minimum strength.
Why not ordinary sand and cement? A site-mixed mortar shrinks as it dries and can pull away from the underside of the plate, leaving a gap and uneven bearing. Non-shrink grouts are formulated to stay in contact. They are also designed to flow, so they can be placed into a confined space without voids.
Epoxy grout is a resin-based product. It is used where the base sees vibration or impact (machinery, crane columns), chemicals, or where the column has to be loaded sooner than a cementitious grout would allow. It is less forgiving to place, is more sensitive to temperature and must go onto dry concrete.
The engineer or specification decides which grout and what strength. If the drawings say "non-shrink grout" and nothing more, ask the engineer of record what product requirements apply before buying.
How thick should base plate grout be?
There is no single correct grout thickness. Three things set it:
- The drawings. The structural drawings show the top of concrete and the underside of the base plate, and the difference is the grout space. That space is chosen to give room for levelling tolerances and for the grout to flow.
- The grout product. Every grout data sheet lists a minimum and maximum placement depth. Too thin, and the grout can't flow far enough to fill the space. Too thick, and many neat grouts need coarse aggregate added (the manufacturer will say how) to control heat and cracking.
- The anchor design. A thick grout pad leaves the anchor rods unsupported over a longer distance. CSA A23.3 accounts for this: in the 2004 edition we checked (Annex D, Clause D.7.1.3), the steel shear resistance of anchors used with built-up grout pads is reduced by 20%. Confirm the requirement in the edition your engineer is designing to.
The practical takeaway: don't change the grout space on site. If the concrete is poured high or low, the fix belongs with the engineer of record, not with thicker or thinner grout. Our article on setting steel columns on footings and pedestals covers what happens when the concrete isn't where it should be.
How base plate grouting is done
Grouting is usually done after the columns are set, plumbed and connected, and before the structure takes significant load beyond the erection loads it was planned for. The outline below is what to expect on site; the grout manufacturer's instructions and the project specification govern the details.
Preparation
- Concrete surface clean and sound, with weak surface laitance removed and the surface roughened so the grout bonds.
- For cementitious grout, the concrete is usually pre-wetted and left saturated but with no standing water. Epoxy grout needs dry concrete.
- Oil, grease and loose rust removed from the underside of the plate.
Forming
- Forms are built around the plate, tight enough not to leak.
- On one side, the form is set back with a "head box" or higher side so grout can be poured and pushed under the plate.
- Large plates may have grout holes or vent holes drilled in the shop so air can escape. This is something to show on the shop drawings, not to torch on site.
Placing
- The grout is mixed to the consistency the data sheet specifies for the gap size.
- It is placed from one side only, continuously, so it flows across and pushes air out the far side. Pouring from two sides traps air under the plate.
- Straps or rods are used to help flow, as the manufacturer allows. Over-watering the grout to make it flow weakens it.
- Once full, the exposed edges are trimmed and shaped to shed water away from the plate.
Curing and weather
- Cementitious grout is kept moist and protected while it cures.
- In an Ontario winter, grout and concrete temperature limits on the data sheet matter. Grout that freezes before it gains strength is damaged, so cold-weather work needs heat and protection planned in advance.
Who does the grouting?
Responsibility varies by contract. On many projects the steel erector sets and levels the columns and someone else, often the concrete contractor or the general contractor, places the grout. On others it is in the steel package. It is a common gap in scope, so check that your contracts name who supplies the grout, who places it, and when. Ask your steel supplier or erector to state it in their quote.
For residential posts, the drawings often call for a simpler base detail. A house post may bear directly on a properly levelled footing, or on a thin bed of grout, with the plate fastened down. Follow what the drawings show; the details for house columns are covered in our article on embedding steel posts in concrete vs base plates.
Base plates and columns made to your drawings
We fabricate steel columns and posts with base plates and cap plates cut, drilled and welded to your details, with shop drawings prepared in-house and CWB certified welding. Supply and installation of structural steel is available across the GTA and Ontario; ask us about grouting scope when you request a price.
Send your drawings for a quote, or see our services for fabrication, detailing and installation.
Frequently asked questions
What is base plate grouting?
It is filling the gap between a steel column's base plate and the concrete foundation with grout, usually a non-shrink cementitious grout. The grout gives the plate full, even bearing so the column load passes into the concrete instead of through levelling nuts or shims.
How thick should grout be under a base plate?
The thickness is set by the structural drawings, and it must fall within the minimum and maximum placement depths on the grout manufacturer's data sheet. There is no single correct figure: the gap has to be large enough to fill completely and small enough not to weaken the anchor rods or exceed the product's limits.
Why use non-shrink grout under base plates?
Ordinary sand and cement mortar shrinks as it cures and can pull away from the underside of the plate, leaving the column bearing on a few high spots. Non-shrink grout is formulated so that it does not drop below its placed height, which keeps the plate in full contact.
Can a base plate be left without grout?
Only when the drawings allow it. Some light posts are designed to bear directly on a level concrete surface. A column set on levelling nuts and never grouted puts its load through the anchor rods, which are not usually designed to carry it that way.