To tie rebar, wrap a short length of 16 gauge black annealed wire around the point where two bars cross, twist the ends together with pliers until the bars can't move, then cut and bend the tail down. That basic snap tie covers most slab and footing work. Ties hold the bars in place until the concrete is poured; they add no strength, so the goal is quick, consistent ties in the right places, not as many ties as possible.
This guide covers the hand technique, the other common knots, where to tie in slabs, walls and footings, and the tools that make the job faster. For the wire itself (gauges, galvanized and coated ties), see our guide to rebar tie wire.
Tools and materials for tying rebar
You don't need much, but the right tools make a big difference over a full day of tying.
| Tool or material | What it's for | Notes |
|---|---|---|
| Rebar tying pliers | Gripping, twisting and cutting wire | Long handles and cutting jaws. Some have a spinning handle for faster twists |
| Wire reel (belt reel) | Feeds wire off a coil as you work | Keeps both hands free; you cut each tie off the reel |
| Pre-cut loop ties | Wire ties with a loop at each end | Faster and more uniform on repetitive work |
| Loop tie twister | Hooks both loops and spins the tie closed | Pull-and-spin action; needs loop ties, not reel wire |
| Battery rebar tying tool | Wraps and twists a tie automatically | Big time saver on slabs and decks; uses the maker's wire spools |
| Gloves and eye protection | Wire ends and bar ends cut and poke | Cut wire tails are sharp and spring back |
| Rebar caps | Covers exposed vertical bar ends | Protects workers from impalement and cuts |
The default wire is 16 gauge black annealed. The RSIC Manual of Standard Practice names 16 gauge black annealed wire for tying unless the engineer specifies otherwise. Coated, galvanized, stainless and GFRP bar need ties that suit the bar, which is a specification question, not a preference.
How to tie a snap tie, step by step
The snap tie (also called a single tie) is the one every rodbuster learns first. With a reel and pliers:
- Pull a length of wire off the reel. A tie for two 10M or 15M bars needs only a short piece; you will learn the length after a few ties. Cut it, or leave it on the reel and cut after wrapping.
- Wrap it diagonally around the crossing. Pass the wire under the bottom bar on one side of the intersection, bring it up and over the top bar on the diagonal, so it crosses the intersection like an X from below.
- Bring both ends together on top. Hold them side by side above the crossing, pulled reasonably snug against the bars.
- Grab both ends with the pliers close to the bars and twist. Rotate the pliers (or spin the handle) so the two ends wind around each other.
- Stop when the tie is snug. A couple of firm twists usually does it. The bars should not slide or rotate when you push on them.
- Cut the excess and bend the tail down, into the mat and away from the form face and the finished surface.
Two habits separate good ties from bad ones. First, pull the wire tight against the bars before twisting, because twisting a loose loop just makes a long, floppy pigtail. Second, don't keep twisting past snug: the wire work-hardens at the twist and snaps, and you start again.
With loop ties, the motion is different. Wrap the tie around the crossing, hook both loops onto the twister, then pull back while the twister spins. The pull tightens the tie and the spin closes it.
Other rebar tying knots and when to use them
The snap tie holds bars against sliding. Some situations need more grip. The RSIC Manual of Standard Practice describes the common hand ties:
| Tie | How it differs | Typical use |
|---|---|---|
| Snap (single) tie | One diagonal wrap, twisted | Most slab and mat intersections |
| Wrap and snap tie | Extra full wrap around one bar first | Walls, so horizontal bars don't slide down the verticals |
| Saddle tie | Wire passes under one bar and wraps around the other before twisting | Footings and mats, to hold bent bar ends in position |
| Wrap and saddle tie | Saddle tie with an extra wrap | Heavy bars preassembled into units that will be lifted by crane |
| Figure-eight tie | Wire crosses itself between the bars | Sometimes used in walls instead of the wrap and snap tie |
The extra wraps add friction so a bar can't slip along its partner under its own weight or when concrete pushes on it. Use them where gravity or handling will try to move the bar: wall horizontals, cages, and mats that will be picked up.
Rebar tie patterns: which intersections to tie
You don't tie every crossing. The RSIC Manual says it is not necessary to tie bars at every intersection; a tie at every fourth or fifth intersection is sufficient, and any extra tying beyond industry practice must be clearly specified. That is the baseline. In practice crews tie more in the places where bars actually move.
Slabs and mats
- Tie the perimeter of the mat at most intersections so the edge bars stay put.
- Tie every lap splice, at least at both ends of the lap.
- Inside the mat, a staggered pattern (every other bar in alternate rows, like a checkerboard) is common on mats that will be walked on during the pour. Light 10M mats are easily kicked out of line, so many crews tie them more often than the RSIC minimum.
- Tie bars to chairs that have tie points, and tie trim bars around openings.
Our step-by-step guide to how to rebar a slab covers layout, chairs and laps before the tying stage.
Walls
Use wrap ties on the horizontals so they can't slide down the verticals. Tie every lap and the top and bottom horizontal bars. Verticals are tied to footing dowels, usually at two points per dowel so the bar can't rotate.
Footings and piers
Saddle ties hold bent bar ends and corner bars square. Tie every dowel in at least two places, and every corner bar and lap. Our guide to laying and tying rebar in footings walks through the order of work.
Cages and anything that will be lifted
If a cage, mat or column assembly will be moved or picked by crane, tie much more than the minimum and use wrap and saddle ties at the corners. Ties on a lifted assembly carry real load during handling, and a cage that racks out of square is hard to fix once it's in the form.
Hand tying vs a rebar tying tool
| Pliers and reel | Loop ties and twister | Battery tying tool | |
|---|---|---|---|
| Speed | Slowest, gets faster with practice | Fast on repetitive ties | Fastest on flat mats and decks |
| Consistency | Varies by person and fatigue | Very consistent | Very consistent |
| Cost to start | Lowest | Low | Highest, plus tool-specific wire |
| Strain | Heavy wrist use on big jobs | Moderate | Least |
| Odd ties (saddle, wrap) | Any tie | Mostly snap ties | Mostly snap-type ties |
Tying tools are worth it on large slabs, parking decks and repetitive mats. Pliers stay in every rodbuster's pouch anyway, because corners, laps, dowels and congested areas still need hand ties. If you use a tool, check that its wire meets the job specification, particularly on coated, stainless or GFRP bar.
Common rebar tying mistakes
- Tails pointing out. A tie end aimed at the form face or the top of a slab can end up in the cover zone, where it rusts and stains the surface. Bend tails into the mat. See concrete cover for rebar for why cover matters.
- Over-twisting. Snapped or nicked wire fails when someone steps on the mat.
- Loose ties. A tie that spins on the bar isn't holding anything.
- Bare steel wire on coated bar. Epoxy-coated, galvanized and stainless bar each need compatible ties so the coating isn't damaged or the metals mixed.
- Tying instead of supporting. Ties don't hold a mat up. Chairs or blocks set the height; ties only keep the bars on them.
- Tying bars out of position. Check spacing against the placing drawing before you tie the field, not after. Our guide to rebar placement tolerances covers how far bars can be off.
Getting bars on site ready to tie
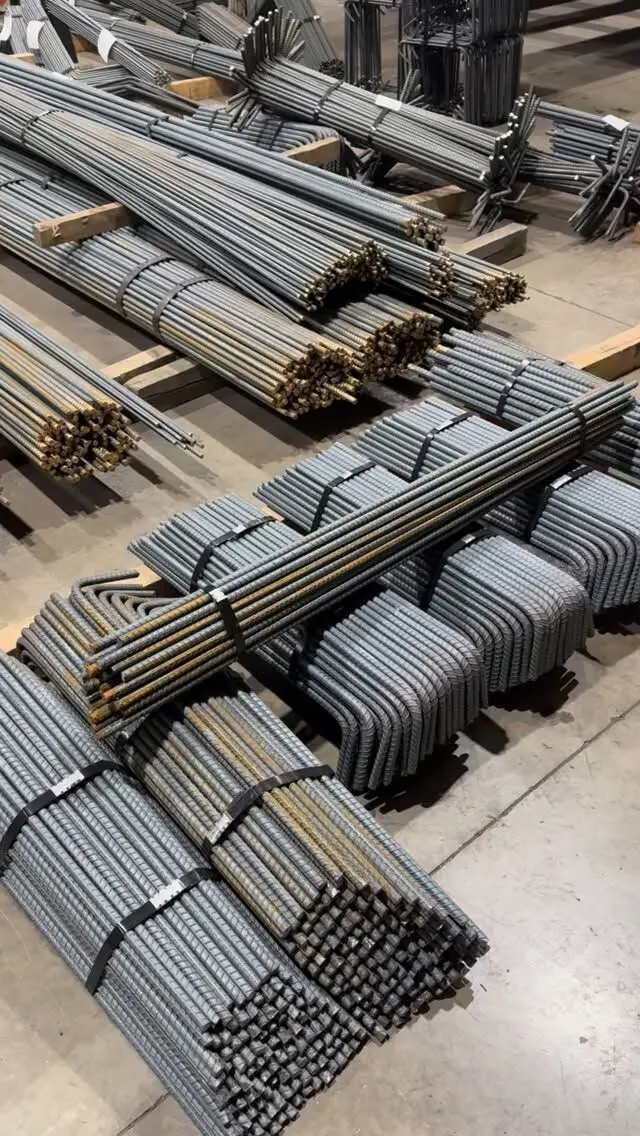
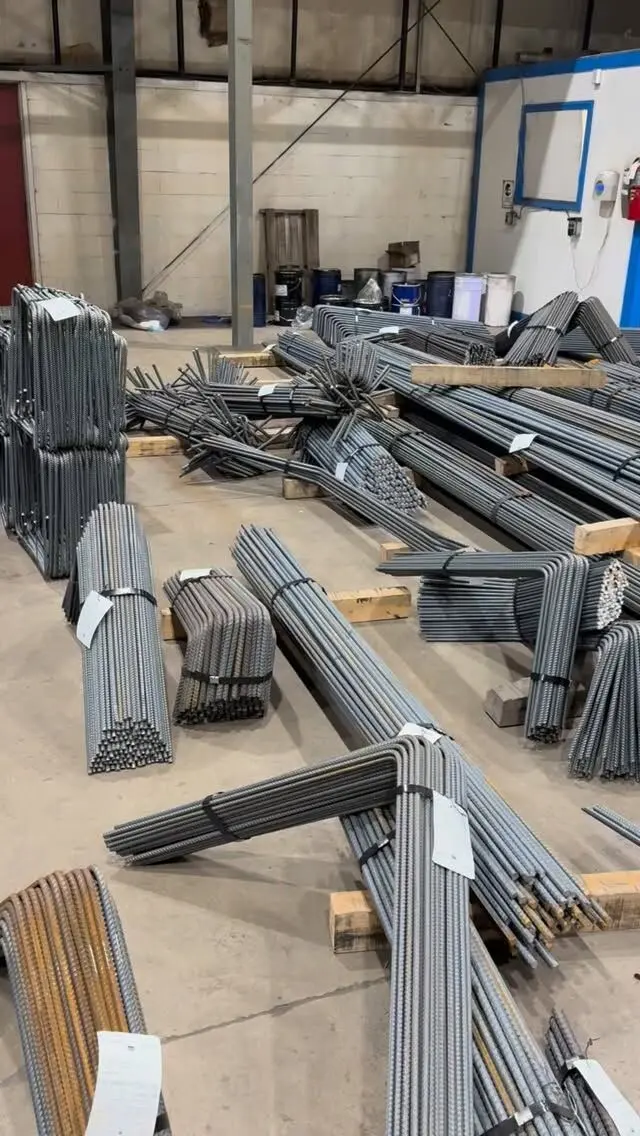
Tying goes fastest when the bars arrive cut, bent and tagged to the placing drawing, so the crew isn't cutting stock or sorting bundles on site. We detail, cut and bend rebar from 10M to 55M, including dowels, stirrups and corner bars, and supply GFRP bar. Send us your drawings for a bar list and quote, or see our rebar products.
Frequently asked questions
How do you tie rebar together with wire?
Pass a length of 16 gauge black annealed wire diagonally around the crossing of two bars, bring both ends together on top, grab them with tying pliers and twist until the tie is snug. Cut off the excess and bend the twisted end down, away from the formwork and the concrete surface.
Do you have to tie every rebar intersection?
No. The RSIC Manual of Standard Practice says a tie at every fourth or fifth intersection is sufficient unless more tying is specified. Laps, bar ends, corners, dowels and the perimeter of a mat are normally tied more often so nothing shifts.
What is the best tool for tying rebar?
For small jobs, a pair of rebar tying pliers and a reel of wire on your belt. For repetitive work, pre-cut loop ties with a twister are faster and more consistent. On large slabs and decks, battery tying tools save a lot of time and wrist strain.
How tight should a rebar tie be?
Tight enough that the bars cannot slide or rotate when someone steps on them, and no tighter. Over-twisting snaps the wire or leaves it weakened at the twist. A tie only needs to hold position until the concrete is placed.
Can you use zip ties on rebar?
Purpose-made plastic rebar ties exist and are common on fiberglass (GFRP) bar. Whether plastic ties are acceptable on steel bar depends on the job specification, so check before substituting them for wire.