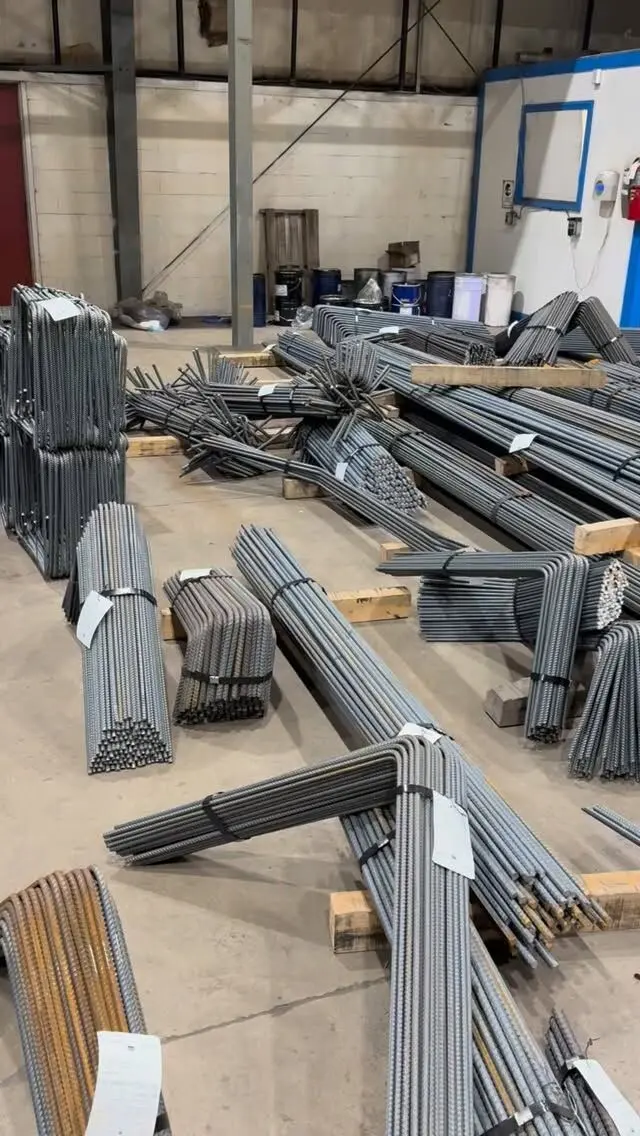
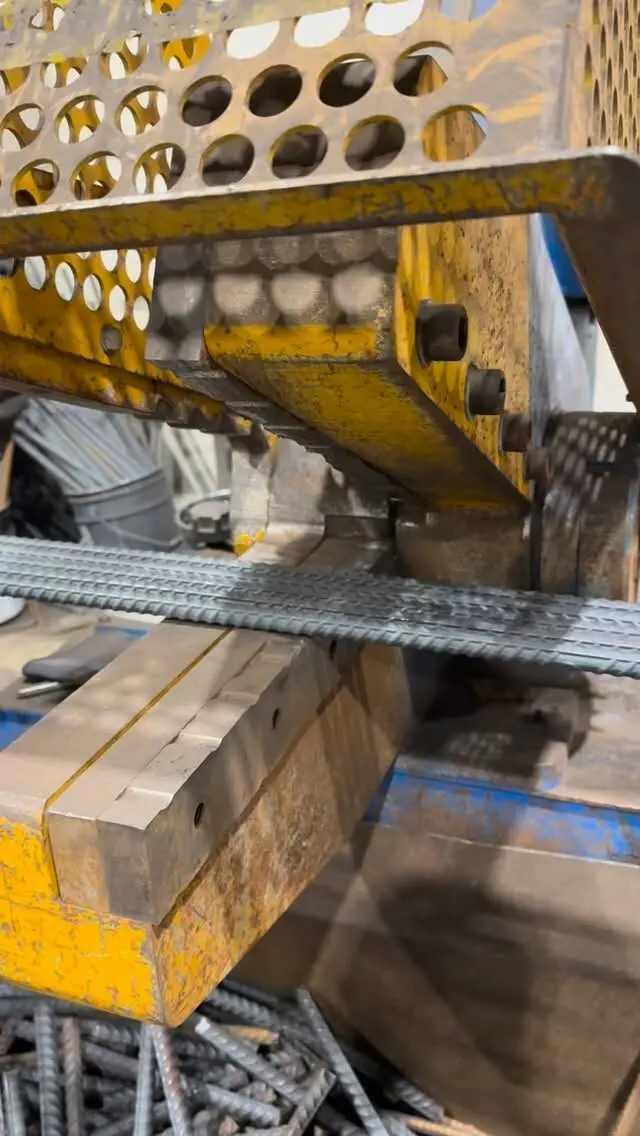
To rebar a concrete slab, you prepare and compact the base, mark the bar spacing on the forms, set chairs at the height on the drawings, lay the bars in two directions with the specified laps and edge cover, tie them so they cannot move, add the extra bars at openings, corners and edges, and then protect the mat while the concrete goes in. The bar size, spacing, height in the slab and lap lengths all come from the drawings. Rebar laid on the ground and pulled up during the pour is the most common mistake on residential slabs, and it undoes all the other work.
This guide walks through the installation in order. It is aimed at contractors and owners who want to know what a properly reinforced slab looks like before the pour and what the inspector will check. For structural slabs, follow the engineer's drawings and placing drawings exactly.
Step 1: Confirm what the slab needs
Not every slab needs rebar. Under Part 9 of the 2024 Ontario Building Code, an ordinary floor-on-ground that carries no structural load has no reinforcement requirement, but a slab that supports loads from the building above has to be designed under Part 4 (Article 9.16.1.2). Our guide to slab-on-grade rebar requirements covers when it is required.
If it does, collect these from the drawings before ordering:
- bar size and spacing in each direction (for example 10M @ 400 EW)
- the number of mats and their position in the slab depth
- cover at the bottom, top and edges
- lap lengths and any lap staggering
- details at edges, thickened sections, openings, columns and joints
If the drawings just say "reinforce slab" with no callout, ask the designer. A slab detail needs a size, a spacing and a position to be buildable.
Step 2: Prepare the base and forms
The steel is only as level as the surface the chairs stand on.
- Granular base. Section 9.16 of the OBC requires at least 100 mm of coarse clean granular material under floors-on-ground, with exceptions such as slabs in garages, carports and accessory buildings. Fill other than clean coarse aggregate must be compacted.
- Grade it flat. Ruts and soft spots mean chairs sit at different heights and sink when walked on.
- Vapour barrier and insulation. Where the drawings call for them, they go down before the steel. Chairs with wide bases or plates keep from puncturing the barrier.
- Forms and screed heights. Set the forms to the finished slab elevation. The bar height is measured from the base, so a high spot in the base pushes the bars toward the surface.
- Embedded items. Under-slab plumbing, radiant tubing supports, sleeves and drains should be in or marked before the mat goes down.
Step 3: Lay out the grid
Work from two adjacent forms so the grid is square.
- Mark the spacing along both forms with paint or keel. The RSIC Manual of Standard Practice says the first bar at the edge of a slab should be no more than the specified spacing from the end, and that what matters is the correct number of bars in each panel at a reasonably even spacing.
- Count the bars. Number of spaces, rounded up, plus one. If the drawing calls for 10 spaces at 150 mm, that is 11 bars in 1.5 m.
- Keep edge cover. Bars stop short of the forms by the edge cover on the drawings, so the bar length is the slab dimension minus cover at each end.
- Decide which direction goes down first. The drawings or general notes say which bars are on the bottom of the mat. It matters on structural slabs because it changes the effective depth the designer assumed.
Our rebar spacing guide explains spacing callouts and limits, with a worked 30 by 40 foot grid.
Step 4: Set the chairs
Chairs, bolsters or precast concrete blocks hold the mat at its designed height. Pick a type that suits the base:
- On soil or granular fill: precast concrete blocks or chairs with sand plates, so the legs do not sink.
- On a vapour barrier or insulation: chairs with wide plastic bases.
- On formwork (suspended slabs): wire or plastic chairs and slab bolsters, plastic-tipped where the soffit will be exposed.
Height. The chair height is the distance from the base to the underside of the bars it supports. For a bottom mat it equals the bottom cover. For a mat at mid-depth or higher, work it out from the slab thickness, the cover and the bar diameters. Our posts on where rebar should sit in a slab and chair heights for 4 and 6 inch slabs work through examples.
Spacing. Close enough that the bars do not sag between supports and the mat stays put when walked on. Smaller bars need closer supports.
Step 5: Place and lap the bars
- Lay the bottom-direction bars on the chairs at the marks.
- Lay the cross bars on top at their marks.
- Lap where needed. Where a run is longer than the bars supplied, overlap bars by the lap length on the drawings and tie the lap. Lap length depends on bar size, concrete strength and position; our lap splice chart shows how it is calculated under CSA A23.3. Stagger laps if the drawings call for it, so they do not all fall on one line.
- Add edge and corner bars shown in the details, such as U-bars or L-bars at slab edges and bent bars into thickened edges.
- Top mats on structural slabs go on high chairs or continuous chairs, set to the top cover.
Ordering the bars cut to length and tagged by mark saves cutting on site and leaves fewer offcuts in the way.
Step 6: Tie the mat
Ties hold the bars in place during the pour; they do not add strength.
- How often. The RSIC Manual of Standard Practice treats a tie at every fourth or fifth intersection as sufficient unless more is specified. Many crews tie more on light slab mats that will be walked on, and around edges and openings.
- Always tie laps, bars to chairs where the chair has a tie point, edge bars and trim bars at openings.
- Wire. 16-gauge black annealed wire is standard, with coated ties for coated or GFRP bar.
- Tie ends turned down into the slab, not up toward the surface.
Step 7: Openings, corners and joints
The plain grid is the easy part. Inspectors and engineers look hardest at the extras:
- Openings for sumps, drains or stairs: bars cut by an opening are usually replaced by trim bars along each side, extended past the corners, as detailed.
- Re-entrant corners where a slab steps inward: cracks tend to start at these corners, and drawings often show diagonal bars there.
- Columns and posts: isolation joints or thickened pads under posts, with their own steel.
- Control joints and construction joints: whether bars run through a sawcut joint, stop short of it, or are replaced by smooth dowels is a design decision. Do not decide it on site.
- Connections to existing work: dowels drilled into an existing slab or wall follow the engineer's adhesive design. The bar, hole size and adhesive all come from that design.
Step 8: Inspect, then protect the mat during the pour
Before the concrete truck is booked, walk the slab with the drawings:
- bar size, spacing and count in each direction
- mat height and cover, measured at several points
- laps, edge bars, trim bars and corner bars in place
- chairs stable and not punched through the vapour barrier
- steel clean of mud and oil
During the pour, set out walk boards or planks where the pump hose and crew travel, so the mat is not pushed down. Never hook the mat up into the concrete as it is placed. If bars have been flattened onto the base, stop and reset them. The RSIC manual notes that concrete cover should never be reduced by more than one third of the specified cover, whatever the placing tolerance.
Get your slab steel cut and delivered
A slab goes together quickly when the bars arrive cut to length, bent where needed and tagged to the layout. We prepare free take-offs from your drawings, cut and bend 10M to 55M bar and supply GFRP bar, and deliver across the GTA and Ontario. Ask us about installation for your project.
Send your slab drawings for a free take-off and quote, or see our rebar products.
Frequently asked questions
How do you lay out rebar for a concrete slab?
Mark the bar spacing from the drawings along two adjacent forms, start the first bar no more than one spacing from the edge, and place the bottom-direction bars first and the cross bars on top. The number of bars in each direction is the number of spaces plus one.
Should rebar be in the middle of a slab?
It sits wherever the drawings put it. Many slabs on grade place a single mat near mid-depth or in the upper part of the slab, while structural slabs have bottom and sometimes top mats at set cover. Support it on chairs at that height rather than on the ground.
Do you tie every rebar intersection in a slab?
Not usually. RSIC industry practice is a tie at every fourth or fifth intersection unless the engineer specifies more, but laps, edges, openings and areas crews will walk on often get more ties so the mat does not shift.
How much should rebar overlap in a slab?
Lap length is set on the drawings and depends on bar size, concrete strength and position. Under CSA A23.3 assumptions it is commonly a few hundred millimetres for 10M and more for 15M, so use the value on your drawings rather than a rule of thumb.