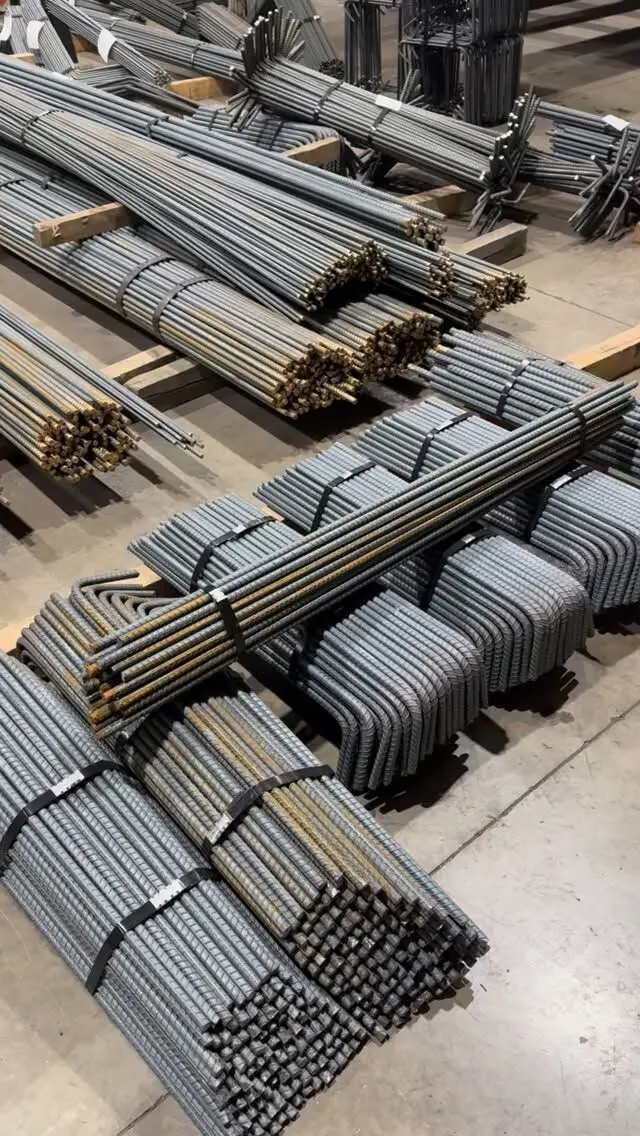
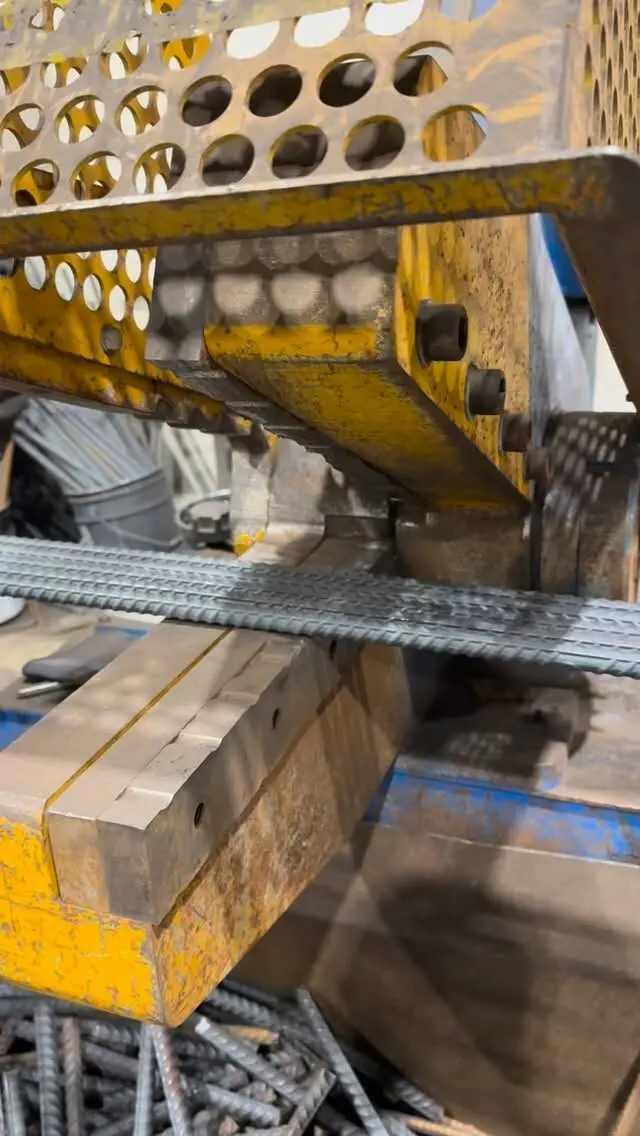
To order cut and bend rebar, you send the fabricator either your structural drawings or a finished bar list. The bar list is the order: every line gives a bar mark, quantity, size, total length and bend type with leg dimensions. The shop shears and bends each line, tags every bundle with its mark, and ships it to site in the order you need to place it.
The rest of this guide walks through that process from the contractor's side: what to send, how the paperwork works, what comes back on the truck and where orders usually go wrong.
Two ways to start an order
You have structural drawings but no bar list. This is the most common case. The fabricator's estimator does a take-off for the quote, and once you award the work, a detailer turns the drawings into placing drawings and bar lists. You review them (and on most commercial jobs, the engineer reviews them too) before anything is cut. If you are not sure what that review involves, our guide to rebar placement drawings covers it.
You already have a bar list. Some contractors and engineers produce their own, and small jobs sometimes only need a handful of straight bars and dowels. A clean bar list can go straight to fabrication. A rough one ("20 L-bars for the corners, about 2 feet each way") should be turned into a proper list first, because the shop will build exactly what the paper says.
Whichever route you take, send the full set of current drawings, not a screenshot of one detail. Bar lengths depend on things shown elsewhere: footing steps, wall heights, openings, cover notes and lap lengths in the general notes.
What goes on a bar list
The Reinforcing Steel Institute of Canada (RSIC) Manual of Standard Practice sets out the bar list format most Canadian shops use. A typical list has these columns:
| Column | What it means |
|---|---|
| Item / Bar mark | A unique label for each bar shape and length, which also appears on the placing drawing and the tag |
| Quantity | How many pieces of that mark |
| Size | 10M, 15M, 20M and so on |
| Length | Total developed length of the bar |
| Type | The bend shape, from the RSIC typical bar bends |
| A, B, C, D... | Leg dimensions for that bend type |
| Remarks | Grade, coating, location or special notes |
The header carries the project, the drawing it refers to, the grade and the revision. Two details matter more than they look:
- Grade. If the drawings do not state a grade, RSIC practice is to supply 400 MPa bar. If a job needs 500W, or a mix of grades, it has to be stated so it shows on the list.
- Specialty bar. Epoxy-coated, galvanized, stainless and GFRP bars are flagged with a prefix letter (C, G, S and F) on the drawings and lists so they never get mixed with plain black bar.
Bend types and leg letters are a language of their own. Our step-by-step guide on how to read rebar shop drawings explains the notation line by line.
How the shop cuts and bends your bars
Once the bar lists are approved for fabrication, the work in a rebar shop follows a set sequence:
- Shearing. Bars are sheared to length from stock. In Canada the standard mill length is 12 m for 10M and 18 m for 15M and larger, so the shop plans cuts to keep offcuts down. Straight bars are tagged and bundled right after shearing and go to shipping.
- Bending. Bars that need shape go to the bending equipment and are cold bent to the bend type and dimensions on the list. Bends are made around a pin sized to meet the minimum bend diameters in CSA A23.1, so bars are not cracked or weakened.
- Tagging and bundling. A bundle holds one mark, or several small marks of the same size grouped together, and carries a weather-resistant tag.
- Loading. Bundles are loaded in the order you will need them, with dunnage between layers so they can be lifted off.
RSIC standard practice also sets fabricating tolerances: sheared straight bars within plus or minus 25 mm, the overall length of bent bars within plus or minus 25 mm, and stirrups and ties within plus or minus 13 mm. RSIC practice is to give bar lengths to the nearest 20 mm unless a note flags a critical dimension. If your detail genuinely needs tighter accuracy, it has to be called out on the drawing before fabrication, not discovered on site.
At Procut, bars are sheared to length, bent to all standard shapes, tagged and bundled in our Erin shop, in sizes from 10M to 55M. Ask us about anything outside standard shapes, such as bars bent in more than one plane or radius bending, before you finalize the detail. Bars bent in more than one plane are often cheaper and easier to place as two spliced pieces.
What the tags tell your crew
The tag is how a bundle on the ground connects back to the drawing. Formats vary between fabricators, but a tag usually shows:
- Project name and contract or order number
- Bar list and drawing reference, sometimes with the release or pour
- Bar mark
- Size and grade
- Quantity in the bundle and cut length
- Bend type and leg dimensions
- Part of the structure, such as "Footings Grid A to C"
- Bundle weight
Some shops use different tag colours for different parts of a structure. Before the first delivery, ask your fabricator for a sample tag so the foreman knows how to read it.
Keep tags on until the bars are placed. Once tags are cut off, a pile of 15M L-bars that differ by 100 mm looks identical, and that is how the wrong bar ends up in the wrong wall.
Planning delivery
Delivery is where a good order can still go sideways. Before the first load, settle these points with your fabricator:
- Phasing. On most jobs you do not want the whole building's steel on site at once. Orders are usually released by pour or by area (footings, then walls, then slabs), and delivered to match the schedule. Procut offers phased deliveries across the GTA and Ontario.
- Site access. Long bars come on long trailers. Tell the shop about tight streets, overhead wires, soft ground, load restrictions and the times the site can receive trucks.
- Unloading. Confirm who unloads and with what: a crane, telehandler, forklift or by hand. Bundle weights should not exceed what you can lift.
- Storage. Store bars off the ground on timber blocks, close to where they will be placed, and spread the weight out if stored on formwork or fresh concrete.
Checking the load when it arrives
Check every load as it comes off the truck, while the driver is still there if you can. Compare the tags to your bar list for mark, quantity, size and grade, and look for bent or damaged bundles.
RSIC standard practice puts the onus on the buyer: shortages are expected to be reported promptly, and the RSIC manual uses a 72-hour window, after which the fabricator is not responsible for a shortage. Your supplier's own terms govern, so read them, but the safe habit is the same either way: count on delivery day.
Light surface rust is normal on stored rebar. Under RSIC practice, rust or mill scale is acceptable without cleaning as long as the bar's dimensions and mass still meet CSA G30.18. Loose scale, mud, oil or ice should be removed before concrete goes in.
Common ordering mistakes
Most problems we see trace back to a handful of causes:
- Ordering from superseded drawings. Always confirm the revision on the bar list matches the latest issued-for-construction set.
- Releasing before approval. If a contractor asks the fabricator to ship from placing drawings that have not been approved, RSIC practice puts responsibility for any errors on the contractor.
- Missing site dimensions. Footing elevations that are "to be determined" lead to bars that do not fit. Hold that item back until the dimension is known, or plan to field-cut those few bars.
- Unclear lap lengths. Lap length is the engineer's call. If the drawings are silent, ask before fabrication. Our lap splice chart guide explains what drives it.
- Rough quantities. Ordering by guesswork leaves you short or with a pile of leftovers. A rebar estimate done properly counts bars, not square metres.
Getting your order started
The fastest way to get cut and bend rebar priced is to send the complete structural drawings, the schedule or pour sequence, and the site address. We prepare take-offs and quotes free of charge, then produce the bar lists and placing drawings that drive fabrication once the job is approved.
Send your drawings for a quote, or see our services for detailing, cut and bend, delivery and installation.
Frequently asked questions
What is cut and bend rebar?
Cut and bend (also called fabricated) rebar is reinforcing bar that a fabricator shears to exact lengths and bends to the shapes on your drawings in the shop, then tags and bundles by mark so your crew can place it without cutting or bending on site.
What do I need to send to get cut and bend rebar quoted?
The structural drawings for the job, or a bar list if you already have one. If you only have drawings, the fabricator does a take-off and prepares the bar list and placing drawings from them.
Can I order rebar cut to size without a detailed bar list?
Straight bars cut to a few lengths can be ordered from a simple list of size, quantity and length. Anything bent should be ordered from a proper bar list with a bend type and every leg dimension, so there is no guessing in the shop.
How accurate is shop-cut rebar?
Under the Reinforcing Steel Institute of Canada's standard practice, sheared straight bars are cut within plus or minus 25 mm, and stirrups and ties are bent within plus or minus 13 mm. If you need tighter tolerances, the engineer has to call for them.
What should I check when the rebar is delivered?
Check the tags against your bar list and placing drawings for quantity, size, grade and mark while the truck is unloading, and report any shortage to the fabricator right away.