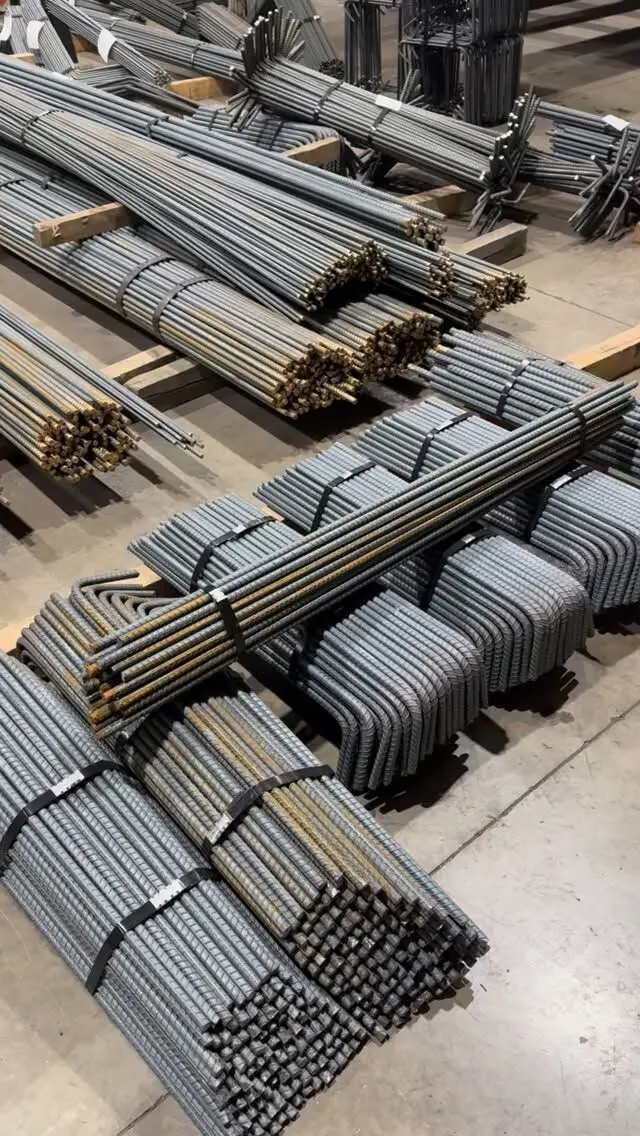
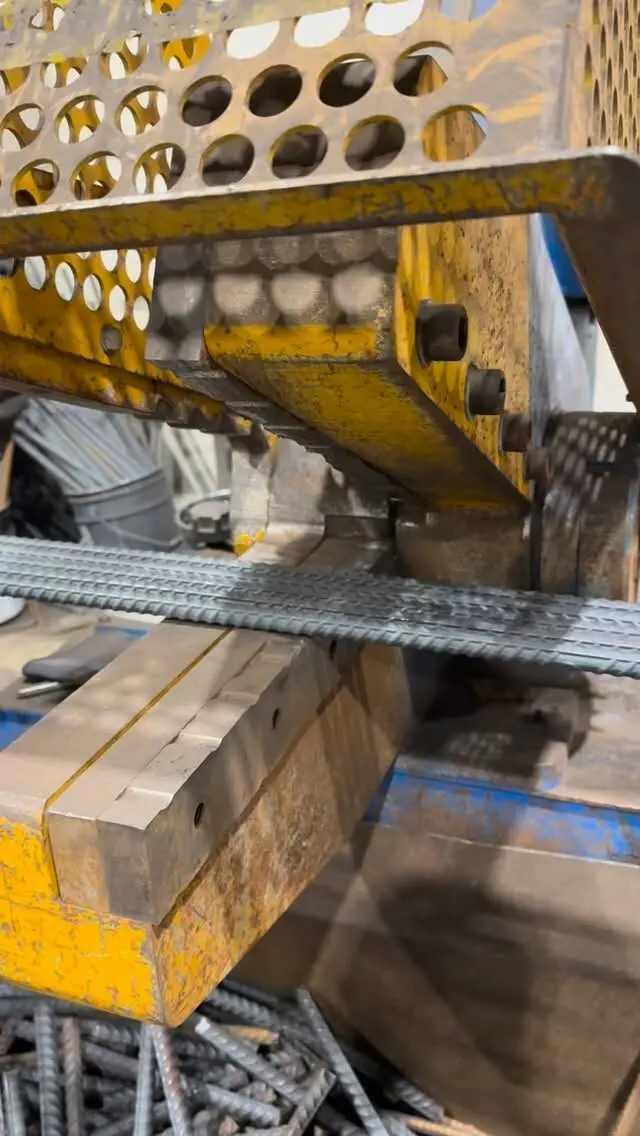
Canadian rebar areas are round numbers: 10M = 100 mm², 15M = 200 mm², 20M = 300 mm², 25M = 500 mm², 30M = 700 mm², 35M = 1,000 mm², 45M = 1,500 mm² and 55M = 2,500 mm². These are the nominal cross-sectional areas set by CSA G30.18. To get the steel area in a beam, column or footing, multiply the area of one bar by the number of bars.
Cross-sectional area by bar size
These are the nominal values for Canadian metric reinforcing bar. Imperial areas are converted and rounded to two decimals, the way they are usually published.
| Bar size | Nominal diameter (mm) | Area (mm²) | Area (in²) | Mass (kg/m) |
|---|---|---|---|---|
| 10M | 11.3 | 100 | 0.16 | 0.785 |
| 15M | 16.0 | 200 | 0.31 | 1.570 |
| 20M | 19.5 | 300 | 0.47 | 2.355 |
| 25M | 25.2 | 500 | 0.78 | 3.925 |
| 30M | 29.9 | 700 | 1.09 | 5.495 |
| 35M | 35.7 | 1,000 | 1.55 | 7.850 |
| 45M | 43.7 | 1,500 | 2.33 | 11.775 |
| 55M | 56.4 | 2,500 | 3.88 | 19.625 |
The metric system was built around the area, not the diameter. Each size has a tidy area, and the nominal diameter is simply the diameter of a plain round bar with that area. You can check it yourself: pi × 11.3² ÷ 4 works out to about 100.3 mm², and pi × 16.0² ÷ 4 to about 201 mm². The small differences are rounding in the published diameters.
That design choice is what makes Canadian bar easy to work with. Area times number of bars is mental arithmetic, and mass per metre follows directly from area (area in mm² × 0.00785 = kg per metre), so the same round numbers carry through to weights and tonnage. Our rebar size chart covers diameters and weights in more detail, and the Canadian vs US sizes post lists the US bar areas side by side.
Area of multiple bars
Beams, columns, piers and grade beams are usually specified as a count of bars, such as 4-20M bottom or 8-25M vertical. This table gives the total area in mm² for 1 to 10 bars of each size.
| Size | 1 | 2 | 3 | 4 | 5 | 6 | 7 | 8 | 9 | 10 |
|---|---|---|---|---|---|---|---|---|---|---|
| 10M | 100 | 200 | 300 | 400 | 500 | 600 | 700 | 800 | 900 | 1,000 |
| 15M | 200 | 400 | 600 | 800 | 1,000 | 1,200 | 1,400 | 1,600 | 1,800 | 2,000 |
| 20M | 300 | 600 | 900 | 1,200 | 1,500 | 1,800 | 2,100 | 2,400 | 2,700 | 3,000 |
| 25M | 500 | 1,000 | 1,500 | 2,000 | 2,500 | 3,000 | 3,500 | 4,000 | 4,500 | 5,000 |
| 30M | 700 | 1,400 | 2,100 | 2,800 | 3,500 | 4,200 | 4,900 | 5,600 | 6,300 | 7,000 |
| 35M | 1,000 | 2,000 | 3,000 | 4,000 | 5,000 | 6,000 | 7,000 | 8,000 | 9,000 | 10,000 |
| 45M | 1,500 | 3,000 | 4,500 | 6,000 | 7,500 | 9,000 | 10,500 | 12,000 | 13,500 | 15,000 |
| 55M | 2,500 | 5,000 | 7,500 | 10,000 | 12,500 | 15,000 | 17,500 | 20,000 | 22,500 | 25,000 |
For slabs and walls, where bars are called out by spacing rather than count, area per metre width is the more useful number. That is a different table, covered in our rebar area and spacing table.
How bar area is used
Steel area (written As on drawings and in calculations) is the quantity a designer actually works with. The flexural strength of a beam, the axial capacity of a column and the minimum steel in a slab all come back to how many square millimetres of steel cross a section. The bar size is just the way that area gets delivered.
Here is where the chart earns its keep on a real job:
- Reading the design intent. If a calculation asks for about 1,150 mm² of bottom steel in a beam, the drawing might show 4-20M (1,200 mm²) or 6-15M (1,200 mm²). Both meet the area, and the designer picked one for reasons the area alone does not show.
- Comparing bar arrangements. 3-25M gives 1,500 mm², the same as 5-20M. Fewer, larger bars are faster to place; more, smaller bars spread the steel across the width and help control crack widths.
- Checking a steel ratio. The reinforcement ratio is As divided by the width times the effective depth. For a 300 mm wide beam with 440 mm effective depth and 3-20M bottom bars, that is 900 ÷ (300 × 440), or about 0.68%. Designers check ratios like this against the minimum and maximum limits in CSA A23.3.
- Estimating weight. Total area times length times steel density gives mass. In practice it is quicker to use mass per metre from the first table.
A note on substitutions
Matching the area does not make two arrangements interchangeable. Swapping 4-20M for 6-15M keeps the same area but changes the bar spacing, the clear distance between bars, the lap and development lengths, the bend diameters and sometimes the number of layers. Going the other way, to fewer larger bars, can leave too much distance between bars for crack control or push laps past what the member can hold.
Any change to bar size or count on structural work needs the engineer of record to approve it. If a bar size is hard to get or a layout is congested, the right move is an RFI with a proposed alternative, not a quiet swap on site. Our guide to choosing rebar sizes for beams and columns explains the trade-offs designers weigh.
Nominal area vs what you measure
The areas in the chart are nominal. Deformed rebar is not a smooth cylinder: it has ribs, and a caliper across the ribs reads well over the nominal diameter. A 15M bar does not measure 16.0 mm across its deformations, and a tape measure is no way to work out its area.
Nominal dimensions describe a plain round bar with the same mass per metre as the deformed bar, which is why mass, not a diameter reading, is the reliable check. That gives you two practical ways to confirm a bar size on site:
- Read the markings. Canadian bars carry rolled-in marks identifying the mill, the size and the grade. This is the quickest check and the one inspectors use.
- Weigh a measured length. Cut a known length, weigh it and divide to get kg per metre, then compare it with the mass column in the first table. The closest match is the bar size.
This matters most when bars from different sources end up on the same site. US bars marked in soft-metric sizes look like Canadian sizes but are not: a US bar marked "13" is a #4 with an area of about 129 mm², not a Canadian bar. If a bundle's tags are missing, check the markings before anything gets placed.
Area of GFRP and coated bars
The chart applies to carbon-steel bar to CSA G30.18, plain or coated.
- Epoxy-coated and galvanized bar use the same nominal sizes and areas as plain bar. The coating adds a thin layer on the outside but does not change the steel area used in design.
- GFRP bar is a different product with its own size designations and areas under CSA S807. Do not assume a "15M" fiberglass bar has 200 mm² of area or behaves like 200 mm² of steel. The GFRP sizes and weights post covers how those bars are designated.
Getting the bar list right
Bar area is the starting point for the design, but the order that goes to the shop is a bar list: sizes, counts, lengths, bend shapes and marks. That is where the chart turns into tagged bundles on site.
If you have structural drawings, send them to us and we will prepare a take-off and quote, with bar lists and placing drawings if you need them. We cut and bend straight and fabricated bar from 10M to 55M; see our rebar products for what we supply.
Frequently asked questions
What is the cross-sectional area of 15M rebar?
15M rebar has a nominal cross-sectional area of 200 mm², about 0.31 in². Two 15M bars give 400 mm², three give 600 mm².
What is the area of 10M rebar?
10M rebar has a nominal area of 100 mm² (about 0.16 in²) and a nominal diameter of 11.3 mm.
What is the area of 20M and 25M rebar?
20M is 300 mm² (about 0.47 in²) and 25M is 500 mm² (about 0.78 in²). These are nominal values from CSA G30.18.
How do you calculate the area of rebar?
Use the nominal area for the bar size from the chart and multiply by the number of bars. You can also work it out as pi times the nominal diameter squared, divided by 4, which gives the same round number within rounding.
Can I measure a bar to find its area?
Not reliably. A caliper across the ribs reads larger than the nominal diameter. Nominal area is tied to the bar's mass per metre, so size the bar from its rolled-in markings or by weighing a measured length.