Removing a load-bearing wall and installing a beam is a sequence of nine steps: confirm the wall is load-bearing, get the beam, posts and footings designed, get a building permit, reroute services, build temporary shoring, remove the wall, build the load path down to the foundation, install the beam, and pass the framing inspection before anything is closed in. The beam is the visible part. The shoring and the load path under the beam ends are what keep the house standing during and after the job.
This guide explains each step so homeowners know what to expect and contractors can check nothing is missing. It isn't a DIY procedure. Taking out a wall that carries floors or a roof needs a qualified designer or engineer, a permit and a crew that does structural work. For the budget side, see load-bearing wall removal cost.
Step 1: Confirm the wall is load-bearing
A wall is load-bearing when it carries floor joists, roof framing, or walls or posts from above. Common clues:
- It runs across the floor or ceiling joists, especially near the middle of the house.
- It sits directly above a beam, girder or wall in the basement.
- Walls are stacked in the same line on each floor.
- Joists overlap or splice on top of it, visible from the attic or a basement ceiling.
Clues aren't confirmation. Only someone who can trace the structure, usually after opening a ceiling, can say for sure what the wall carries and whether it also braces the house. Our post on whether you need a structural engineer to remove a wall covers when a designer is enough and when an engineer is needed.
Step 2: Get the beam, posts and footings designed
The designer or engineer traces the load from the roof to the footings and produces drawings showing:
- The beam: material (steel, LVL or wood), size, length, and whether it is dropped below the ceiling or flush with it
- Bearings: what each beam end sits on and how long the bearing is
- Posts: size and position at each end, and in the floors below
- Footings: whether existing footings can carry the new point loads, or new ones are needed
- Connections: how joists attach to the beam and how the beam attaches to the posts
- Shoring: sometimes a shoring sequence where the loads are high
Steel is common for long open spans and flush beams because it carries more load at a shallower depth. For a full comparison, see steel beam vs LVL strength, span and depth.
Step 3: Get the building permit
Ontario's Building Code Act requires a permit to construct, and "construct" includes the material alteration of a building. Removing a load-bearing wall falls inside that. The drawings go to the municipal building department, which reviews them, issues the permit and sets the inspections. What each GTA municipality asks for is in our guide to permits for load-bearing wall removal.
Order the steel once the drawings are approved, not before. A beam made to an unapproved size is an expensive mistake to fix.
Step 4: Prepare and reroute services
Before the wall comes down:
- Electrical circuits in the wall are disconnected and rerouted by an electrician.
- Plumbing stacks, vents and supply lines are moved by a plumber, or the beam and posts are planned around them.
- Ducts and return-air runs are relocated by an HVAC contractor.
- Gas lines are moved by a licensed gas technician.
- Older homes may have plaster, insulation or finishes that should be tested for hazardous materials before demolition.
- Floors and furniture along the wall line are protected or moved.
Services are often where wall removals grow. A stack that can't move can change where a post goes, or stop a flush beam altogether.
Step 5: Build temporary shoring
Temporary walls carry the joists above while the wall is out. Typically:
- One shoring wall on each side of the wall line when joists bear on the wall from both sides
- A plate on the floor and a plate at the ceiling, with studs or adjustable steel shores between, snug but not lifting
- Shoring on the floor below as well, if the floor under the shoring can't carry the load to the ground
For a flush beam, the shoring is set back far enough from the wall line to leave room to cut the joists and fit the beam.
Step 6: Remove the wall
With the shoring carrying the load, the drywall or plaster comes off, then the studs and plates. The top plate is often the last piece out, because it may still be carrying joist ends until the shoring takes over completely. If anything unexpected turns up, such as a post buried in the wall or joists that don't match the drawings, work stops until the designer has looked at it.
Step 7: Build the load path down
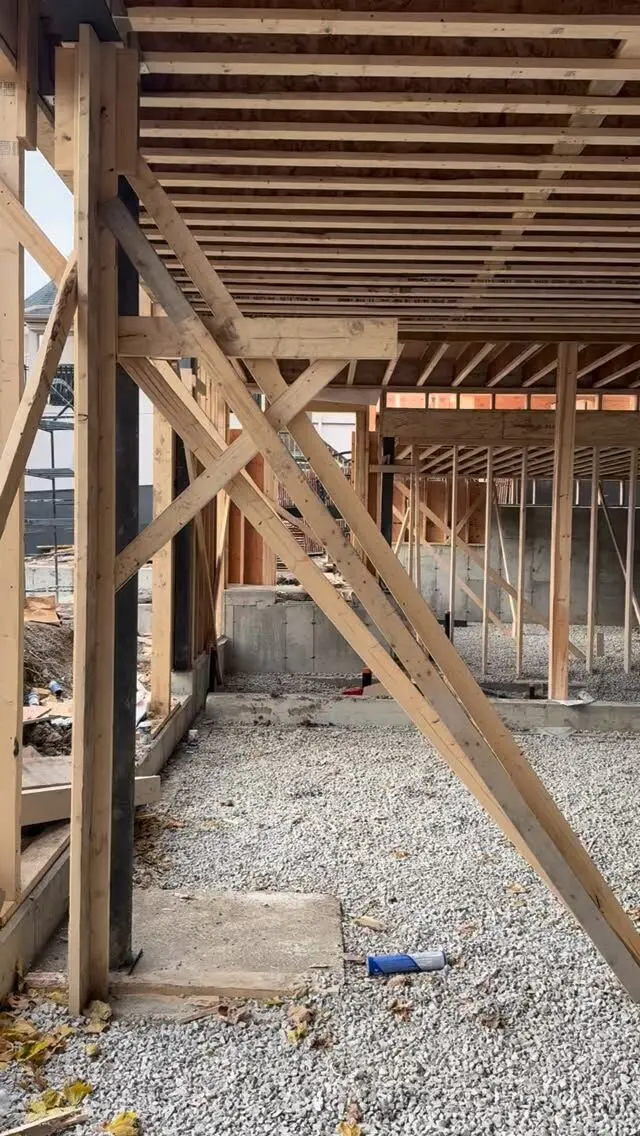
This is the step that gets underestimated. A wall spreads its load along its length. A beam collects that load and delivers it as two point loads at its ends. Those point loads have to travel straight down:
- Posts at each beam end, sized on the drawings, often built into the walls at each side of the new opening
- Solid blocking through each floor under those posts, so the load doesn't crush the floor framing on its way down
- The basement: the load lands on the foundation wall, an existing beam that can carry it, or a new post on a new footing
If the engineer finds the basement beam or footings can't take the new load, basement work becomes part of the job. That can mean new steel posts on new footings, or a new basement beam, covered in how to install a steel beam in a basement.
Step 8: Install the beam
Getting it in. Steel beams are carried or rolled in through a door or window, sometimes in spliced sections the engineer designed, then raised onto the posts with a material lift, jacks and cribbing, or a crew.
Drop beam. The beam is set on its posts below the joists, and the joists bear on top of it, fastened as detailed. Simpler and less labour, but the beam shows below the ceiling.
Flush beam. The joists are cut back, the beam is set up in the joist depth, and each joist is supported on the beam with hangers or on the bottom flange, depending on the beam type and the drawings. A wood nailer bolted to a steel beam is common so the subfloor and ceiling have something to fasten to.
The beam is fastened to the posts, packed tight to the framing above where detailed, and the shoring stays in place until everything is connected.
Step 9: Inspection, then finishing
The building inspector checks the beam, posts, bearings, blocking and connections against the approved drawings before anything is covered. Closing in the ceiling before that inspection is the most common way to end up opening it again. Once approved, the shoring comes out and the finishing begins: ceilings, the floor patch where the wall stood, and moved switches, outlets and registers.
Quick checklist before you start
| Item | Done? |
|---|---|
| Wall confirmed load-bearing by a designer or engineer | |
| Drawings showing beam, posts, footings and connections | |
| Building permit issued | |
| Services rerouting planned with each trade | |
| Shoring plan, including the floor below if needed | |
| Steel ordered to the approved drawings and field measurements | |
| Route into the house measured for the beam length | |
| Inspection booked before closing in |
Steel for your wall removal
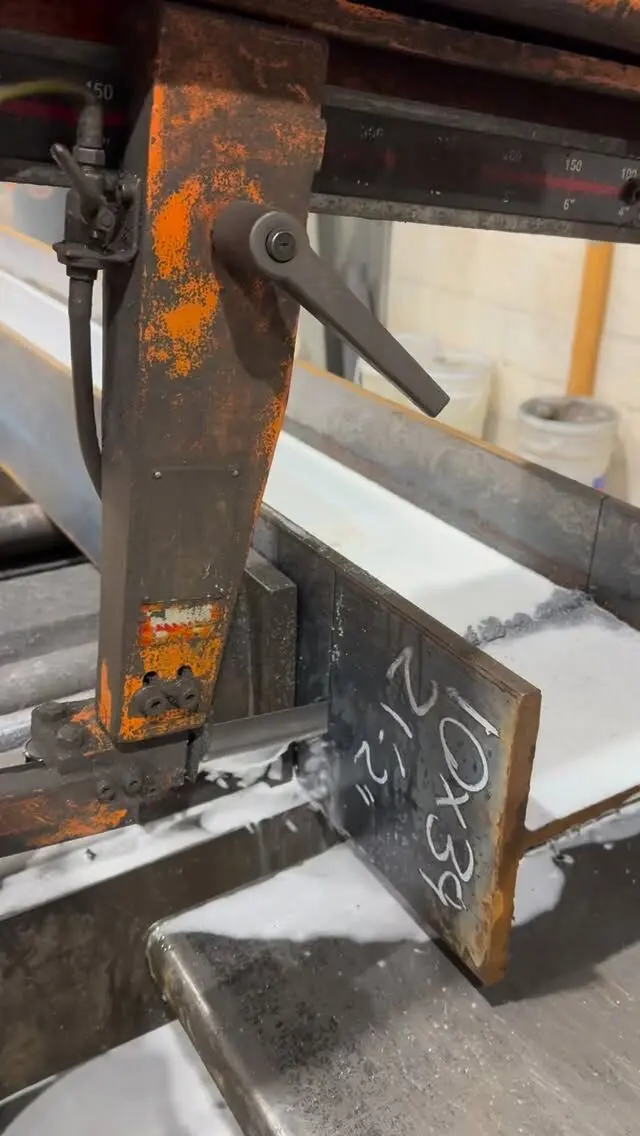
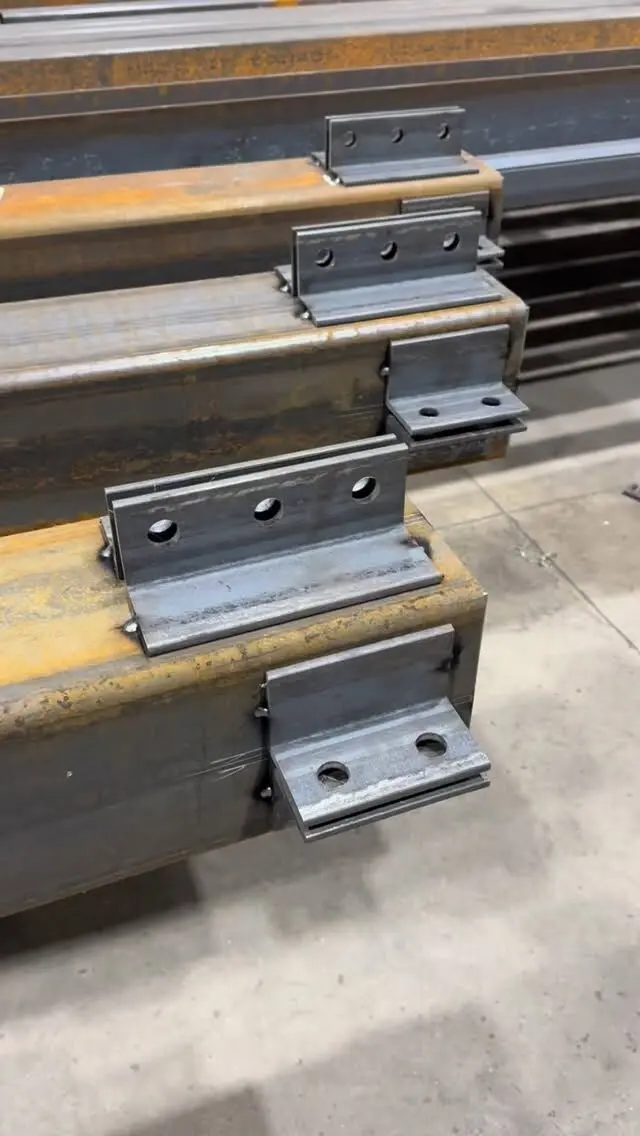
We supply, fabricate and install steel beams and posts for homes, with shop drawings prepared in-house and engineering services available for projects that need them. Send us your engineer's drawings for a free quote on the beam, posts and plates, supplied or supplied and installed, and see our services for how we handle a job from drawings to installation.
Frequently asked questions
How do you remove a load-bearing wall?
Confirm the wall is load-bearing, have a designer or engineer size the beam, posts and footings, get a building permit, reroute services, build temporary walls to carry the load, remove the wall, install the beam with posts that carry the load down to footings, and pass the framing inspection before finishing.
Do you need a permit to remove a load-bearing wall in Ontario?
Yes. The Building Code Act requires a permit to construct, and its definition of construct includes the material alteration of a building. Removing a load-bearing wall and installing a beam is a structural alteration.
What holds the house up while the wall is removed?
Temporary shoring walls, usually built on one or both sides of the wall line, carry the joists above. They stay in place until the new beam and posts are installed, connected and carrying the load.
Should the beam be steel or wood?
The engineer decides based on span, load, available depth and access. Steel carries more load at a shallower depth, which suits long spans and flush beams. LVL is lighter and easier to handle on shorter spans.