To install wire mesh in a concrete slab, prepare and compact the base, lay flat sheets (or flattened roll mesh) with the specified overlaps, tie the laps together, set the mesh on chairs or blocks at the height the drawings show, add any rebar at edges and openings, and keep the mesh in place while the concrete goes in. The single most important point: the mesh has to be supported at the right height. Mesh laid on the ground and pulled up during the pour almost always stays near the bottom, where it does nothing to hold surface cracks tight.
This guide walks through the installation for slabs on grade, garage floors, sidewalks and driveways. If the slab is engineered, follow the drawings; they override everything here.
Before you start: confirm what the slab needs
Check the drawings or the specification for:
- Mesh style, for example 152x152 MW18.7xMW18.7 (the metric name for "6x6 6/6"). Our welded wire mesh size chart explains the designations.
- Position in the slab: the cover from the top or the height above the base.
- Lap length between sheets or rolls.
- Extra bars: rebar at thickened edges, around openings, at re-entrant corners, over grade beams or at column pads.
- Joint layout: where control joints will be sawn, and whether mesh runs through them or stops.
Not every slab needs reinforcement, and mesh is not always the right choice. Our post on wire mesh vs rebar for concrete slabs explains what mesh does and where rebar is used instead.
Step 1: Prepare the base
Mesh does not fix a poor base. Before any steel goes down:
- Compact the granular base and grade it level to the slab thickness.
- Place insulation and the vapour barrier if the slab calls for them, and repair any tears.
- Install under-slab services, radiant tubing and perimeter forms.
The base type affects the minimum bottom cover. Without other direction, the RSIC Manual of Standard Practice calls for at least 40 mm of bottom cover where mesh is over earth, and 25 mm where it is over a vapour barrier.
Step 2: Lay out and flatten the mesh
Sheets or rolls. Flat sheets are easier to install correctly. Rolls are convenient over large areas but want to curl back, which makes it hard to keep the mesh flat and at the right height. RSIC practice limits roll mesh to lighter styles where the mesh must lie substantially flat.
To lay out:
- Start at one edge with the sheet square to the forms.
- Keep cover at the edges. Keep the mesh back from the forms so the wire ends have concrete cover. Transverse wires normally overhang the outside longitudinal wire by up to about 25 mm, so allow for that.
- Flatten roll mesh by unrolling it, turning it over so the curve faces down, and weighting or walking it flat before setting it on supports. Do not leave arched mesh that will spring up through the surface.
- Cut with bolt cutters to fit around obstructions, leaving wire ends pointing down or sideways rather than up toward the surface.
Order more mesh than the slab area to cover laps. RSIC suggests at least 10% extra for rolls and 15% for sheets.
Step 3: Lap the sheets correctly
Mesh is anchored in the concrete by its welded cross wires, so the lap is measured by how the cross wires of the two sheets overlap, not just by the length of wire that overlaps.
For smooth welded wire mesh, CSA A23.3 (the 2004 edition is the one we checked; confirm the edition named on your project) sets the lap by comparing the steel provided with the steel required:
- Steel provided is less than twice what is required: the overlap between the outermost cross wires of each sheet must be at least the greatest of one cross wire spacing plus 50 mm, 1.5 times the development length, and 150 mm.
- Steel provided is at least twice what is required: the overlap between the outermost cross wires must be at least the greater of 1.5 times the development length and 50 mm.
For a typical 152x152 mesh, the first rule means at least one full mesh square plus 50 mm between the outer cross wires. Deformed wire mesh follows a separate clause. If the drawings give a lap, use that.
Stagger the end laps of adjacent sheets where you can, so four sheet corners do not stack at one point and lift the mesh.
Step 4: Tie the mesh together
Ties keep the sheets from separating or shifting while the slab is placed. They do not add strength.
- Tie every lap at regular intervals along its length, using standard 16 gauge black annealed tie wire, or coated ties for coated mesh.
- Tie mesh to its supports where the support has a tie point, especially in areas that will be walked on.
- Tie rebar to the mesh where edge bars, trim bars or dowels cross it.
- Turn tie tails down into the slab, not up toward the surface.
The RSIC manual notes that placing mesh on suitably spaced supports and tying it at laps is adequate to hold its position during concrete placement.
Step 5: Set the height
This step makes or breaks the installation.
Where the mesh goes. The drawings govern. Where they are silent, RSIC practice for slabs on grade is:
| Slab thickness | Mesh position |
|---|---|
| Less than 150 mm | Single layer in the middle of the slab |
| 150 mm and thicker | Top cover of about one third of the slab depth |
| Two layers (usually only over about 200 mm thick) | Top layer 25 to 50 mm below the surface, depending on saw cuts |
In every case the mesh should sit below the depth of the saw-cut joints, so the saw does not cut the wires.
How to hold it there. Use chairs, bolsters or concrete blocks made for mesh, sized for the height and spaced closely enough that the mesh does not sag between them. RSIC's guidance is about 0.8 m or less between supports for light mesh (wire up to MW25.8), with wider spacing allowed for heavier styles. On a vapour barrier or insulation, use supports with base plates so they do not punch through. Our post on supporting wire mesh with chairs covers support types and spacing in detail, and where rebar should sit in a slab explains why position matters so much.
Do not lay it on the base and pull it up. RSIC states plainly that mesh shall not be placed on the subgrade and pulled up during concrete placement. It is the most common mistake on residential slabs.
Step 6: Add rebar where the slab needs it
Mesh usually covers the field of the slab. Rebar is often added at:
- Thickened edges and grade beams, which act as footings. See our guide to monolithic slab rebar.
- Openings and re-entrant corners, where diagonal or trim bars control the cracks that start at corners.
- Column pads and point loads, per the drawings.
- Connections to existing concrete, using dowels.
Tie these bars to the mesh so the two stay together during the pour.
Step 7: Check and protect it during the pour
Before concrete arrives, walk the slab and check:
- Mesh height at several spots, especially at laps and between supports.
- Laps are the right length and tied.
- Cover at forms, penetrations and edges.
- No tears in the vapour barrier from supports.
- Extra bars are in place.
During the pour, workers and hoses will push the mesh down. Use enough supports, lay planks for foot traffic where possible, and have someone check and lift any low spots before the concrete covers them. Pull out any wire that has sprung up toward the surface.
Getting reinforcement for your slab
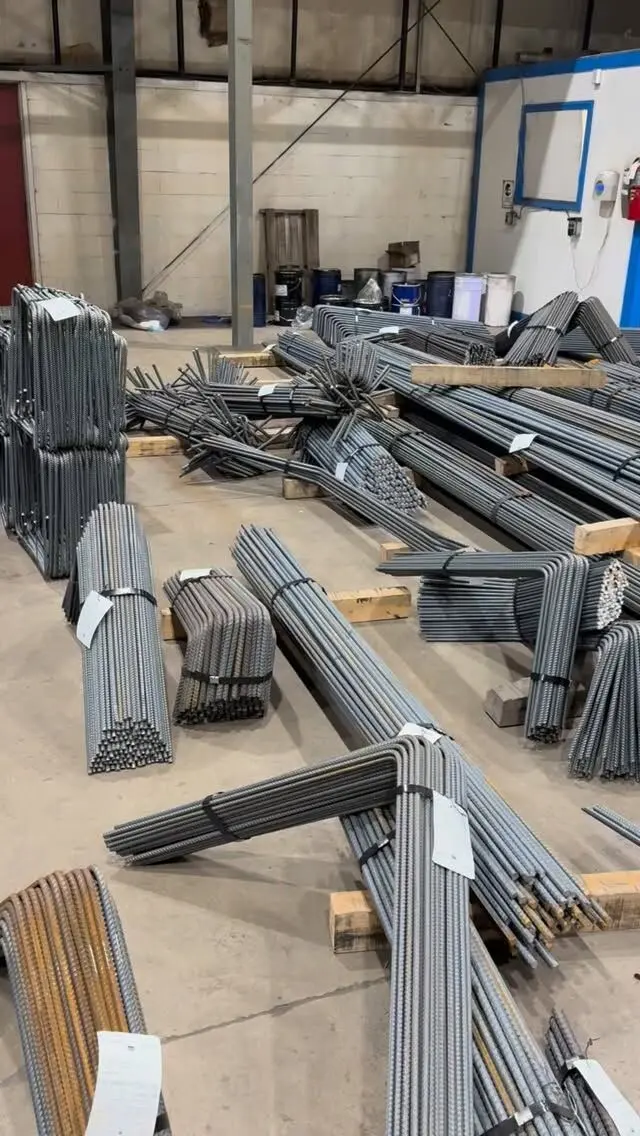
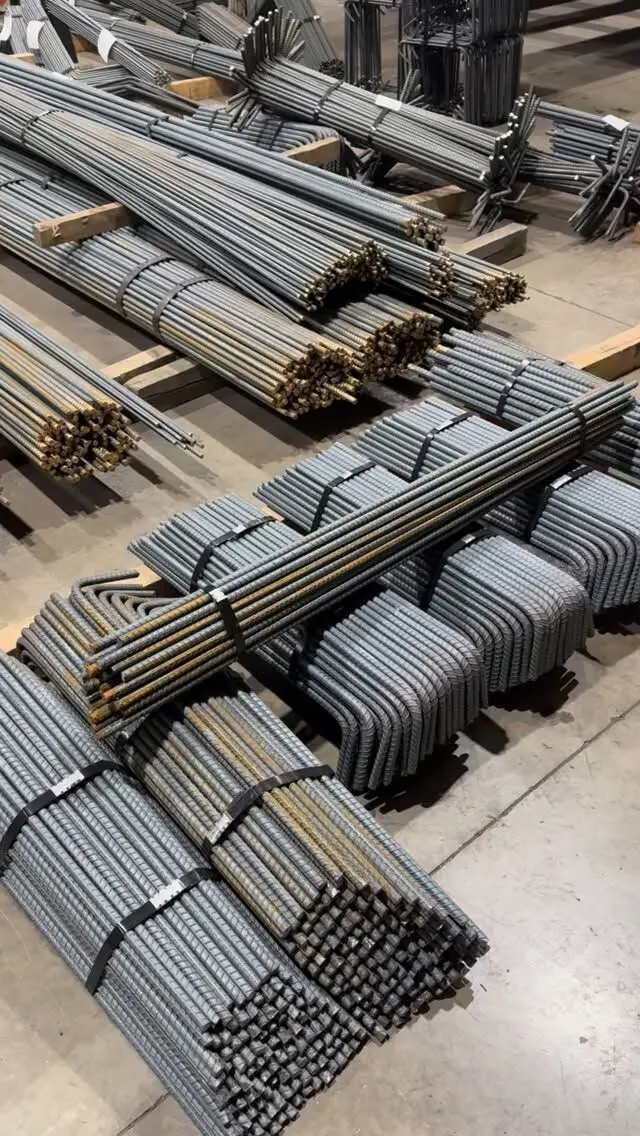
We do not supply welded wire mesh, but if your drawings call for a rebar grid instead, or rebar at thickened edges, openings and dowels alongside the mesh, we prepare the bar list, cut and bend the bars and deliver them tagged across the GTA and Ontario. Send us your drawings for a free take-off and quote, and see our rebar products for the sizes we supply.
Frequently asked questions
How much should wire mesh overlap?
Follow the drawings. The common rule for smooth welded wire mesh is that the outermost cross wires of the two sheets overlap by at least one cross wire spacing plus 50 mm, and never less than 150 mm, which is what CSA A23.3 (2004 edition) requires when the steel provided is less than twice the steel needed.
Where should wire mesh sit in a slab?
On supports at the height the drawings show. Without other direction, RSIC practice puts a single layer at mid-depth in slabs under 150 mm thick, and with top cover of about one third of the depth in thicker slabs, always below the saw-cut joints.
Can you lay wire mesh on the ground and pull it up during the pour?
No. Mesh that is laid on the base and hooked up during the pour almost always ends up at or near the bottom of the slab, where it does little. Industry practice in Canada says mesh shall not be placed on the subgrade and pulled up.
How do you tie wire mesh together?
Lap the sheets by the specified amount and tie the overlap with wire ties at regular intervals so the sheets cannot separate. Tie the mesh to its supports as needed so it stays in position when people walk on it.
Can you use rebar and wire mesh together in a slab?
Yes. A common pattern is mesh in the field of the slab with rebar added at thickened edges, around openings, at re-entrant corners or over grade beams. The drawings should show where each goes and how they connect.